In a world oversaturated with instant snapshots and automatic settings, many beginners and even experienced photographers overlook one of the most powerful tools for professional and personal growth: the Observation Journal. At first glance, it might seem like an archaic pursuit, the domain of writers or scientists. However, for a photographer, keeping such a journal is not just about recording what you see, but a critically important practice that transforms a random shot into a conscious work of art. The bur4ik.ru blog presents a comprehensive guide explaining why this tool is indispensable and how to use it most effectively.
How an Observation Journal Unlocks Hidden Talents and Improves Your Photography
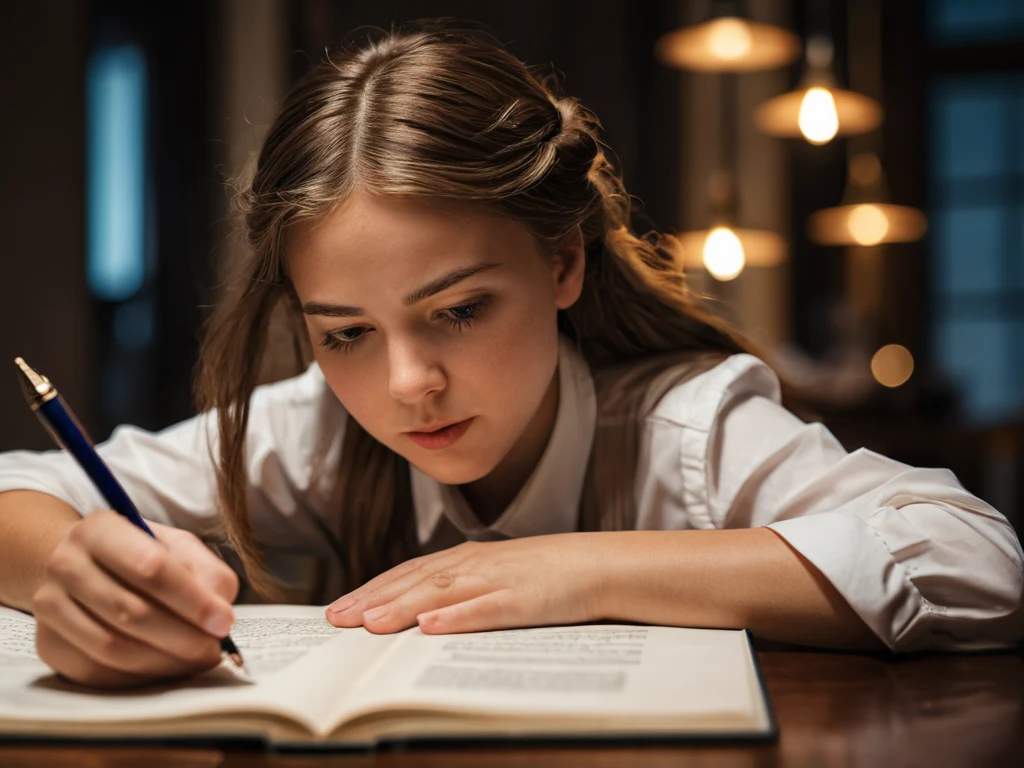
An observation journal is more than just a repository of camera settings. It’s a laboratory for your perception. It forces the photographer to slow down and move away from the automatic image capture mode. Regularly recording what catches your eye and why is a direct path to self-improvement.
- Developing Mindfulness: Photography is the art of seeing. A journal requires detailed descriptions of light, textures, and emotions. This practice carries over to the actual shooting, making you a more insightful observer.
- Analyzing Past Work: Entries allow you to revisit a specific session, recall the context, weather, and mood. This provides an opportunity to honestly assess why a shot succeeded or failed, regardless of technical execution.
- Identifying Themes: Recurring entries about specific subjects, colors, or social scenes clearly indicate your implicit photographic interests. This is your internal compass, pointing towards future projects.
- Improving Compositional Thinking: By writing down how you *intended* to arrange elements and comparing it to the final frame, you begin to understand the invisible connections between intention and outcome.
- Emotional Resonance: Photography is about conveying feeling. A journal captures your initial emotional state when encountering a subject, helping you understand how that state was reflected in the final image.
From ‘What I Saw’ to ‘What I Feel’: 5 Ways to Turn Ordinary Notes into Valuable Insights for Photographers
Most beginners limit themselves to recording EXIF data: shutter speed, aperture, ISO. This is useful, but not enough. The true value of a journal lies in its subjective, reflective component.
- The ‘Three Questions’ Method After a Shot: Immediately after taking a key shot, write down: 1. What did I want to say with this shot? 2. What do I think it says to the viewer? 3. What element (light, color, line) made it successful/unsuccessful?
- Light Scenario Journal: Create a section dedicated solely to light. Describe not just “good light,” but “harsh side light at 4:45 PM that created long, dramatic shadows on the brick wall.” Record how it felt.
- Emotion Map: Link your shots to your emotional state. If you were shooting in a state of anxiety, but the frame turned out calm, record this dissonance. This will help you understand how emotions influence your choice of focus and framing.
- Note-Taking from Masterclasses and Studying Masters’ Work: When viewing the work of a respected photographer, don’t just copy settings. Analyze: “Why did he choose this angle? What story is he telling using only three people in the frame?”
- Forecasting and Planning: Use your journal for foresight. If you notice you’re drawn to architectural forms in foggy weather, plan a trip for the next foggy morning, pre-thinking three compositional options.
The Observation Journal as a Tool for Overcoming Creative Blocks: 3 Practical Techniques
Creative stagnation is the bane of any artist. An observation journal, being a tool for reflection and structuring, becomes a powerful antidote to being stuck.
When it feels like there’s nothing to shoot, it’s necessary to shift the focus from the shooting process itself to the surrounding reality and your inner world.
- ‘Random Prompt’ Technique: Open your journal to a random page. If it contains a description of a color (e.g., “rich indigo”), your task for the next hour is to find five different objects in your surroundings that convey this color sensation and photograph each of them, even if they seem unrelated.
- Constraint List: Creative blocks are often caused by an excess of freedom. In your journal, create a list of artificial limitations for the next week: “Shoot only black and white,” “Use only one lens (e.g., 50mm),” “Photograph only objects above head level.” This narrows the search field, forcing your brain to find creative solutions within the given framework.
- Analyzing Failures: Dedicate a section in your journal for “Failed Sessions.” Instead of just forgetting about them, describe in detail why you felt the session was unproductive. Often, failure stems from a lack of preparation or the wrong motivation. By dissecting failures, you build a plan to avoid them in the future.
Formats of Observation Journals for Photographers: From Text to Visual Notes (with Examples)
The ideal journal is one that you keep regularly. Therefore, it’s important to choose a format that suits your working style and doesn’t distract from the main creative process.
1. Traditional Paper Journal (Physical Medium)
- Pros: Tactile experience, absence of distracting notifications, ability for quick sketches and doodles.
- Features: It’s recommended to use notebooks with toned or kraft paper that encourage reflection. You can paste small samples of paper, textures, or even use Polaroid prints as anchors for your notes.
2. Digital Journal (Apps and Notes)
- Tools: Notion, Evernote, OneNote, or specialized note-taking apps on your smartphone (e.g., Simplenote).
- Advantages: Easy keyword search (SEO for your thoughts), ability to instantly attach screenshots or mini-versions of your shots directly to the note. Ideal for quick notes on the go.
- Structuring: Use tags (#light, #street_portrait, #lesson_from_A) for quick navigation.
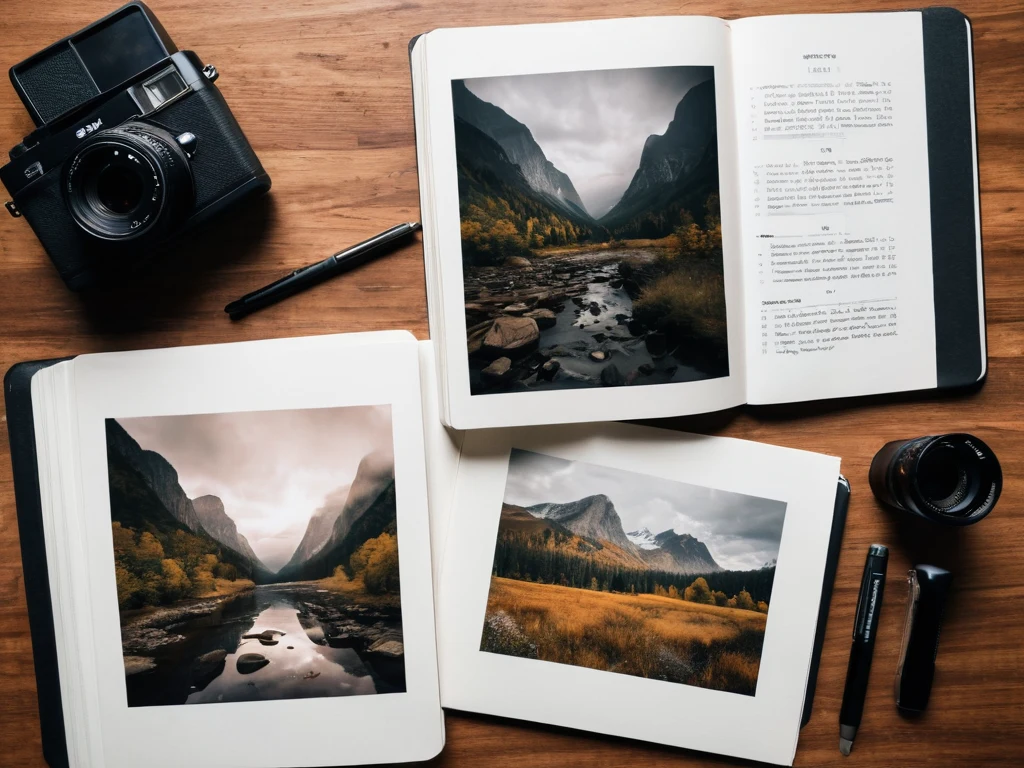
3. Visual Sketchbook (Visual Journaling)
This is a hybrid between a journal and a mood board. It’s suitable for those who find it difficult to express thoughts in words.
- Content: Instead of long texts, use collages of magazine cutouts, sketches of compositions (even if primitive), and color palettes taken from the environment.
- Example: On one page, a photo of a sunset, next to it – a handwritten description of the feeling of warmth, and a small sample of red thread, matched in color.
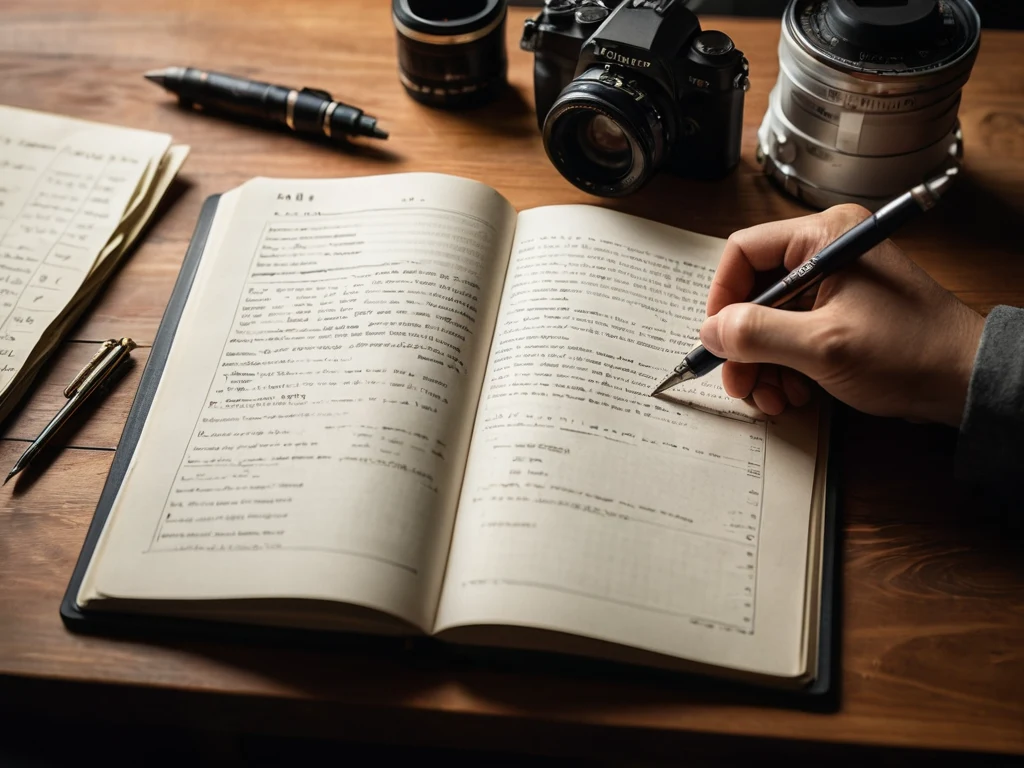
4. Technical Log (EXIF + Context)
Focuses on objectivity with elements of subjective assessment. Often kept in the form of a spreadsheet.
- Fields to Fill: Date/Time, Location, Shooting Subject, Settings (ISO/f/SS), Reason for Choosing Settings (subjective), Result (Successful/Unsuccessful), Post-processing (briefly).
How Regular Observations Help You Find Your Unique Photographic Style and Voice
Style is not a set of settings, but a combination of conscious and subconscious choices. An observation journal is a roadmap that reveals these choices and allows you to cultivate or correct them.
Your unique style crystallizes at the intersection of your worldview and your technical skills. A journal helps you see this intersection.
- Identifying Recurring Motifs: Review your entries from the past six months. If you find yourself regularly recording your impressions of old doors, abandoned buildings, or the expressions of people waiting, this is your “hot” material.
- Defining Your “Light Comfort Zone”: You realize that all your most successful shots were taken during the golden hour, or conversely, in harsh midday light. A journal helps you abandon the idea that you need to shoot “in all conditions” and focus on those where you are most convincing.
- Forming a “Visual Language”: Notes on *how* you use depth of field (e.g., always shallow to isolate) or what color palette you prefer (saturated or muted) become your vocabulary.
- Conscious Rejection: It’s equally important to understand what *doesn’t* suit you. If you’ve tried shooting dynamic street scenes three times and felt unsure each time, your journal suggests: perhaps your voice lies in static shots or portraits.
Where to Start Keeping an Observation Journal Right Now: A Step-by-Step Guide and Free Templates
It’s never too late to start. The main thing is not to complicate the process and to integrate it as much as possible into your daily routine.
Step-by-Step Plan to Get Started
- Choose Your Tool: Decide what will be your primary means of recording – a physical notebook or a phone app. Make sure it’s always at hand.
- Determine Frequency: Start with a minimum – one entry per day. This could be recording one successful or one challenging moment.
- Create a Basic Template (Your MVP): Don’t write a novel. Your starting template should include three essential items:
- Date and Time: (To record lighting conditions).
- Subject/Object: (What caught your attention).
- Key Thought/Feeling: (Why it’s important to me right now).
- Record Your First 10 Shots: Go back to your 10 favorite photos from the past year. Try to fill out your template for them. This exercise will help you understand what data you want to collect in the future.
- Plan Thematic Days: Set aside time once a week for reflection (e.g., 30 minutes on Sunday evening) to review your entries and identify 3-5 common themes that dominated the week.
Free “Daily Shot” Template for bur4ik.ru
Use this template for the first two weeks of journaling:
- Date and Location: _________________________
- Scenario: (Description of the subject: people, light, surroundings). _________________________
- Technical Choice (If I shot): (e.g., “Shot from a low angle,” “Used a long exposure”). _________________________
- Hidden Motive: What was I actually trying to capture? (Emotion, movement, tension). _________________________
- Lesson of the Day: What did I learn about light/composition/myself? _________________________
Keeping an observation journal is an act of investing in your own photographic future. It’s a quiet but constant dialogue with yourself that ultimately shapes a unique, recognizable, and strong visual voice, essential for success in contemporary photography.