The work of a professional photographer is often associated with unpredictable conditions: from a sudden downpour in the middle of a mountain landscape to a tripod breaking or all batteries draining at the most crucial moment. The success of a shoot largely depends not only on skill but also on the level of preparation. That’s why bur4ik.ru experts believe that every serious photographer should have their perfectly assembled “go-bag” – a compact yet comprehensive kit that allows for prompt problem-solving and continuing work under any circumstances.
What is a Photographer’s “Go-Bag” and Why is it Needed?
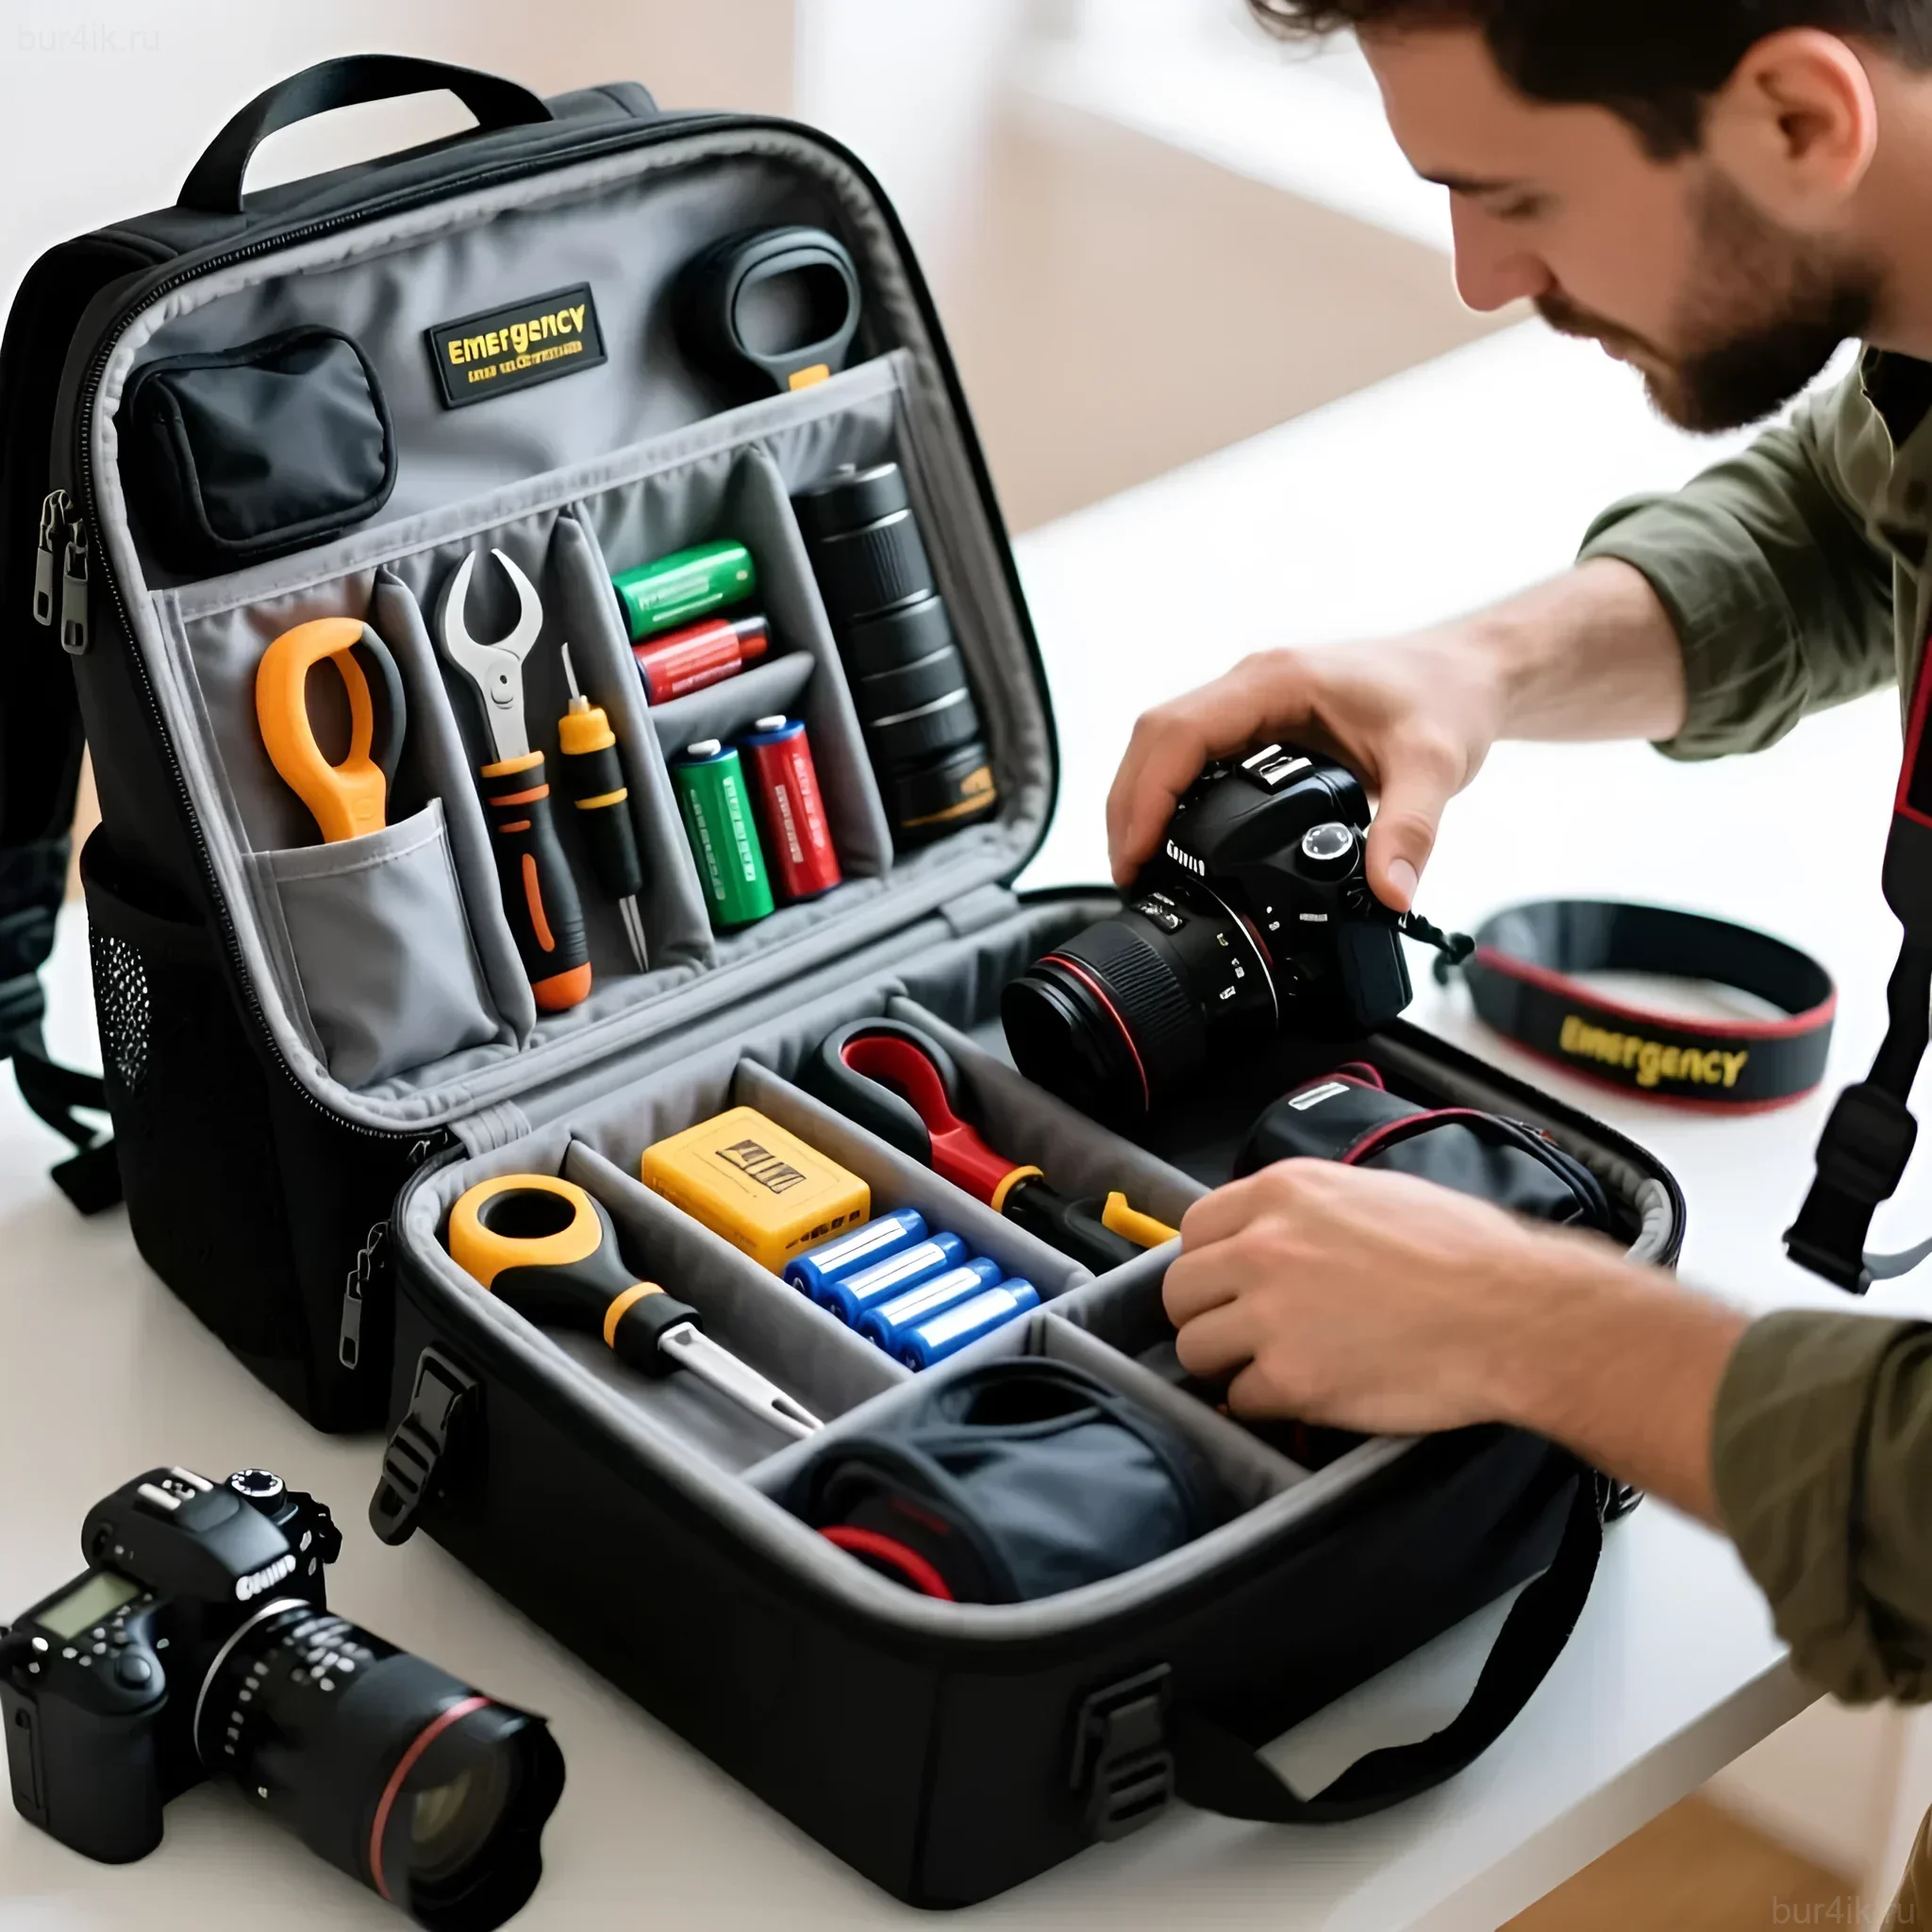
A photographer’s “go-bag” (or emergency kit) is not just an extra bag with spare batteries. It’s a strategically planned set of the most essential tools, consumables, and personal protective equipment that ensures minor technical failures or weather changes won’t interrupt the workflow. The main goal of this kit is to ensure autonomy and continuity of shooting.
Creating such a kit requires a systematic approach. It should be compact, lightweight, and always ready for use, regardless of whether the photographer is heading to the studio or on a multi-day wilderness trek.
Key Functions of an Emergency Kit:
- Fixing Minor Breakdowns: The ability to quickly tighten a screw, reattach a detached part, or restore a connection.
- Maintaining Power: Ensuring uninterrupted operation of cameras, flashes, and laptops.
- Protecting Equipment: Saving gear from moisture, dust, sand, and impacts.
- Personal Safety and Comfort: First aid supplies and adaptation to challenging conditions.
The Basics: Tools and Accessories for On-the-Go Repairs
Many technical problems encountered on location don’t require a service center. Having the right tool at hand is enough to restore equipment functionality in minutes. This section focuses on the minimum essential set for prompt maintenance and repair.
Tools for Prompt Repairs:
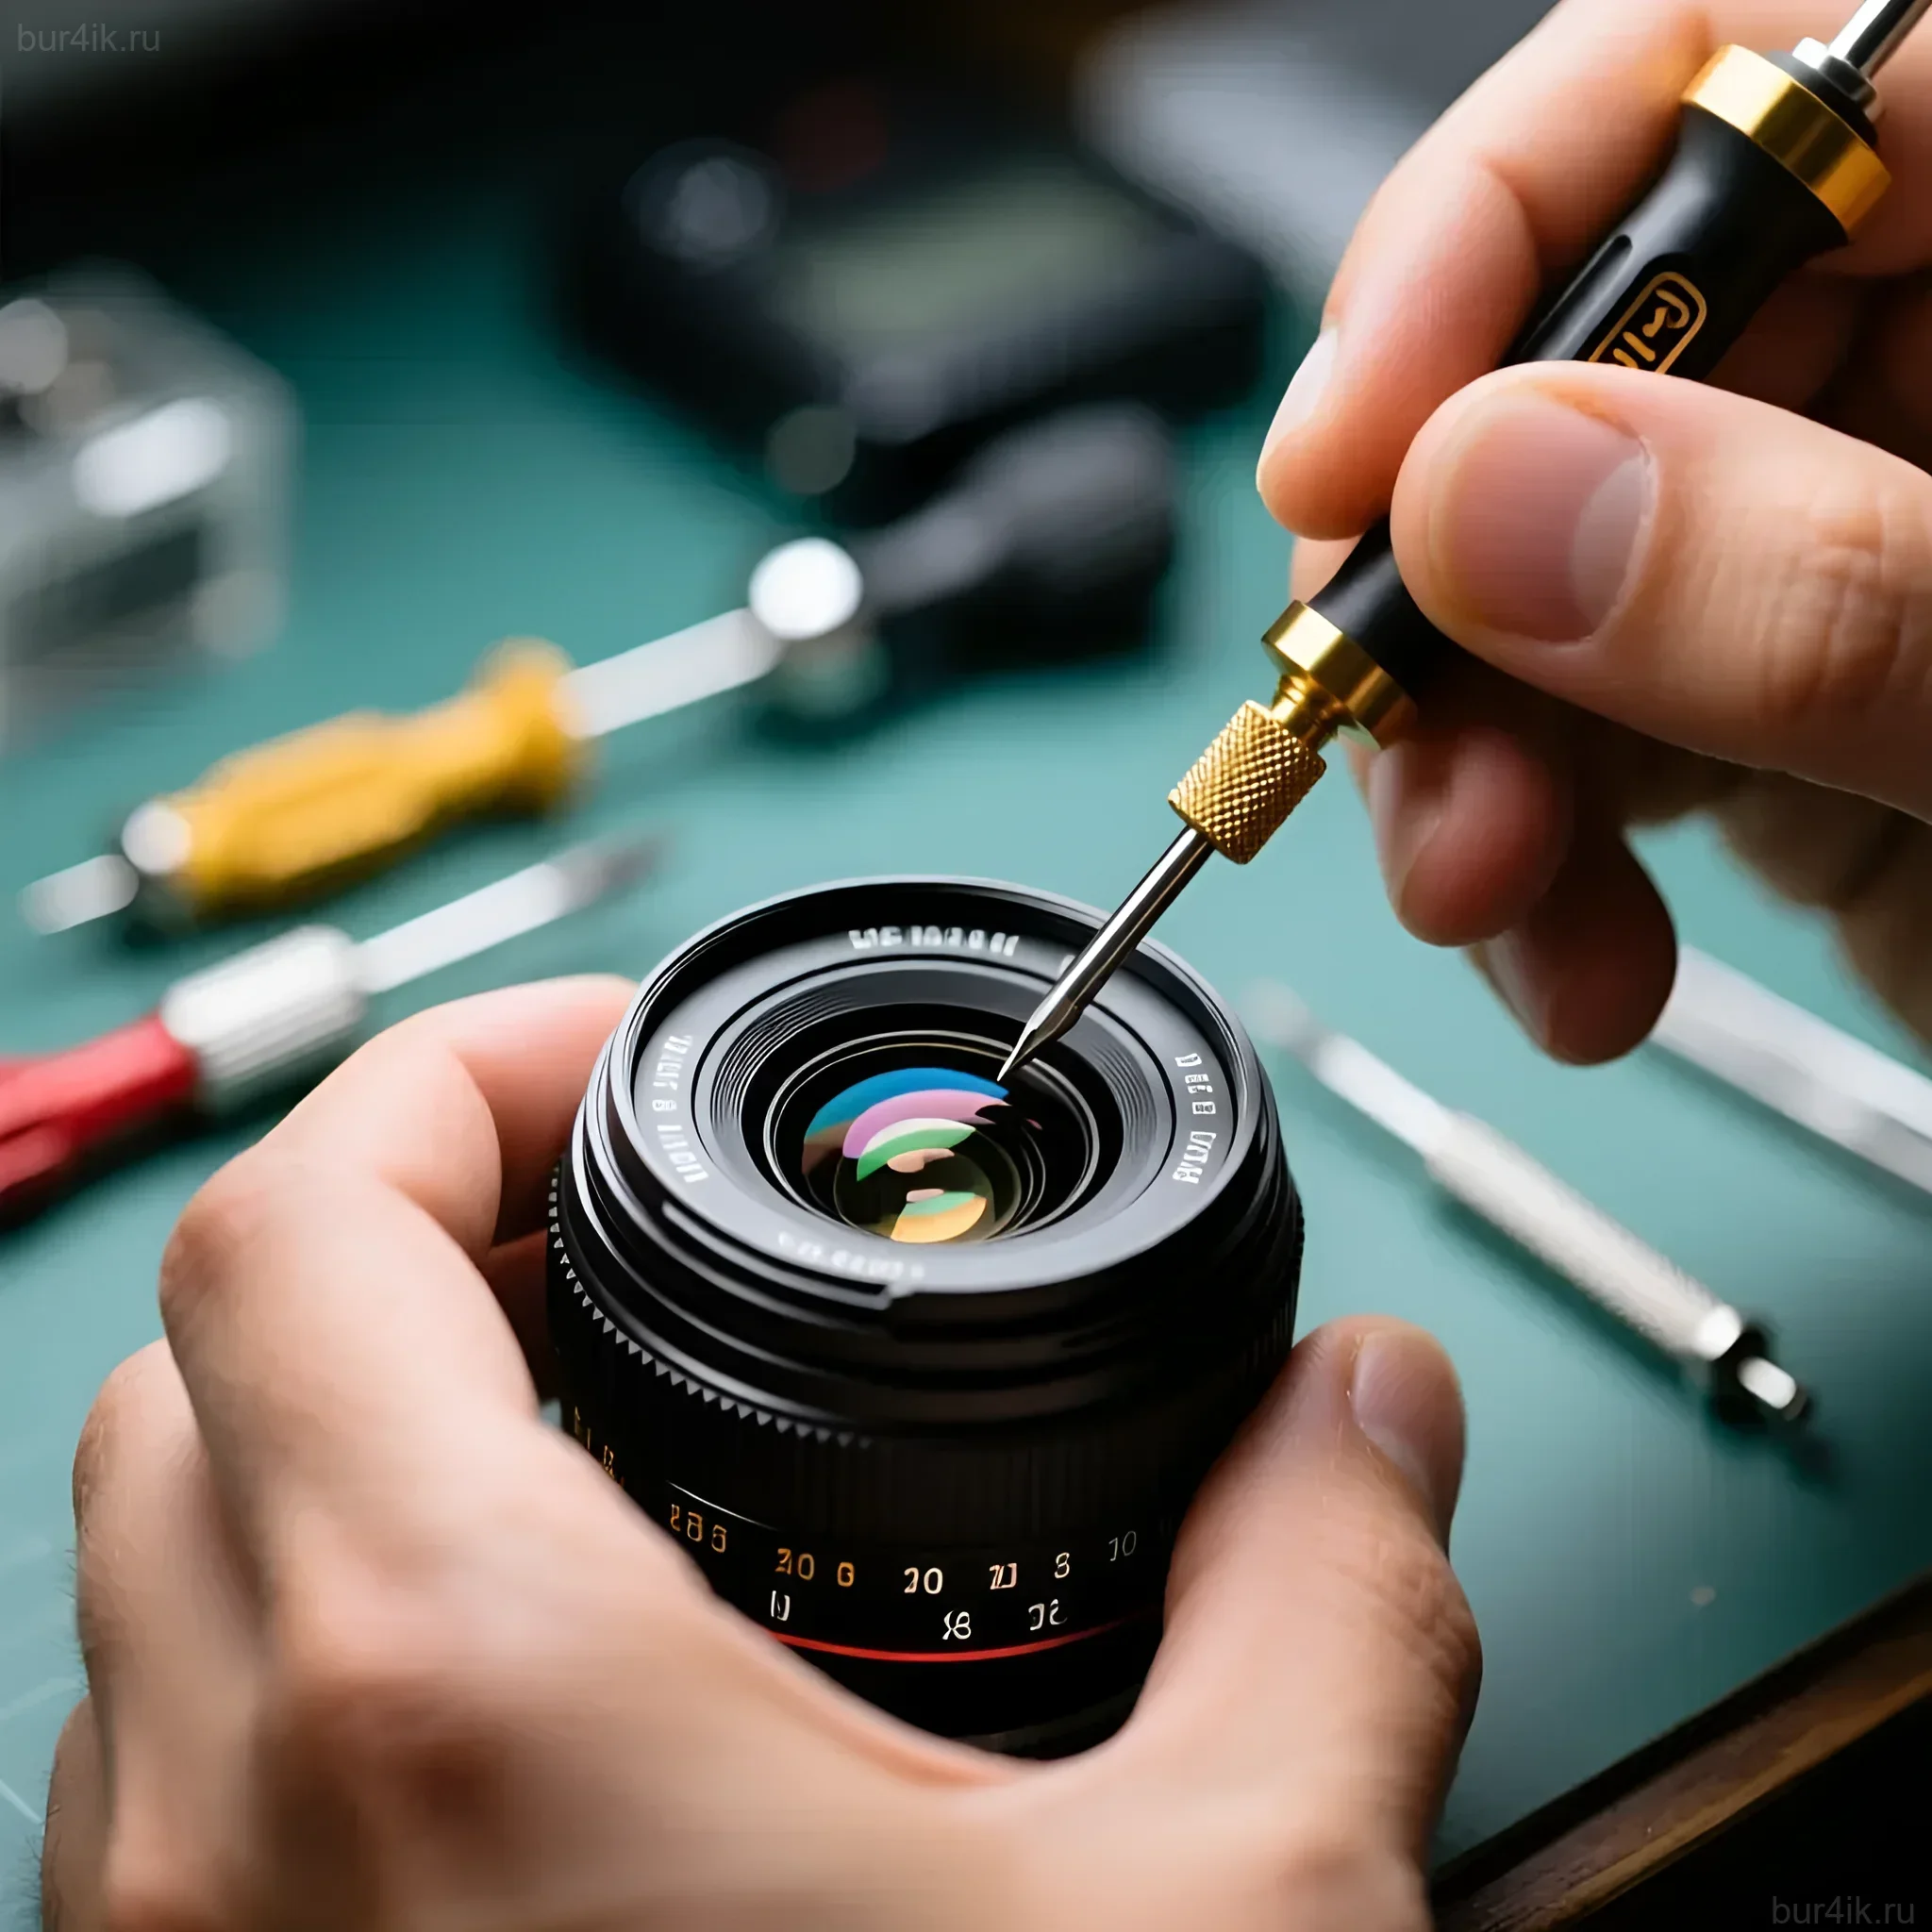
- Multi-tool (Leatherman or similar): Essential. Choose a model with pliers, a knife, a saw, and, most importantly, a set of screwdriver bits.
- Precision Screwdrivers: Small Phillips and flathead screwdrivers needed for tightening screws on tripod plates, L-brackets, and battery compartments.
- Adhesive Tape:
- Gaffer Tape: Indispensable for temporary repairs, securing cables, and patching cracks. Leaves no sticky residue.
- Electrical Tape (black): Useful for insulating wires and marking.
- Cable Ties (Zip Ties): Several ties of different sizes used for securing equipment, organizing cables, or temporarily fixing broken parts.
- Screws and Adapters:
- 1/4″ to 3/8″ adapters (male/female).
- Spare screws for quick-release plates.
- Spare “cold shoe” mount (for flash).
- Microfiber Cloth and Blower: For removing dust from lenses and sensors. Never use clothing!
Expert Tip: Store all small screws and adapters in a small plastic organizer with compartments (e.g., a fishing tackle box) to prevent them from scattering in your bag.
Power and Charging: Never Run Out of Energy
Energy is the lifeblood of any shoot. It’s not enough to just bring “a lot” of batteries. It’s important to have a well-thought-out charging and backup power system that will allow you to work even if access to an outlet is limited or unavailable.
Essential Power Reserve:
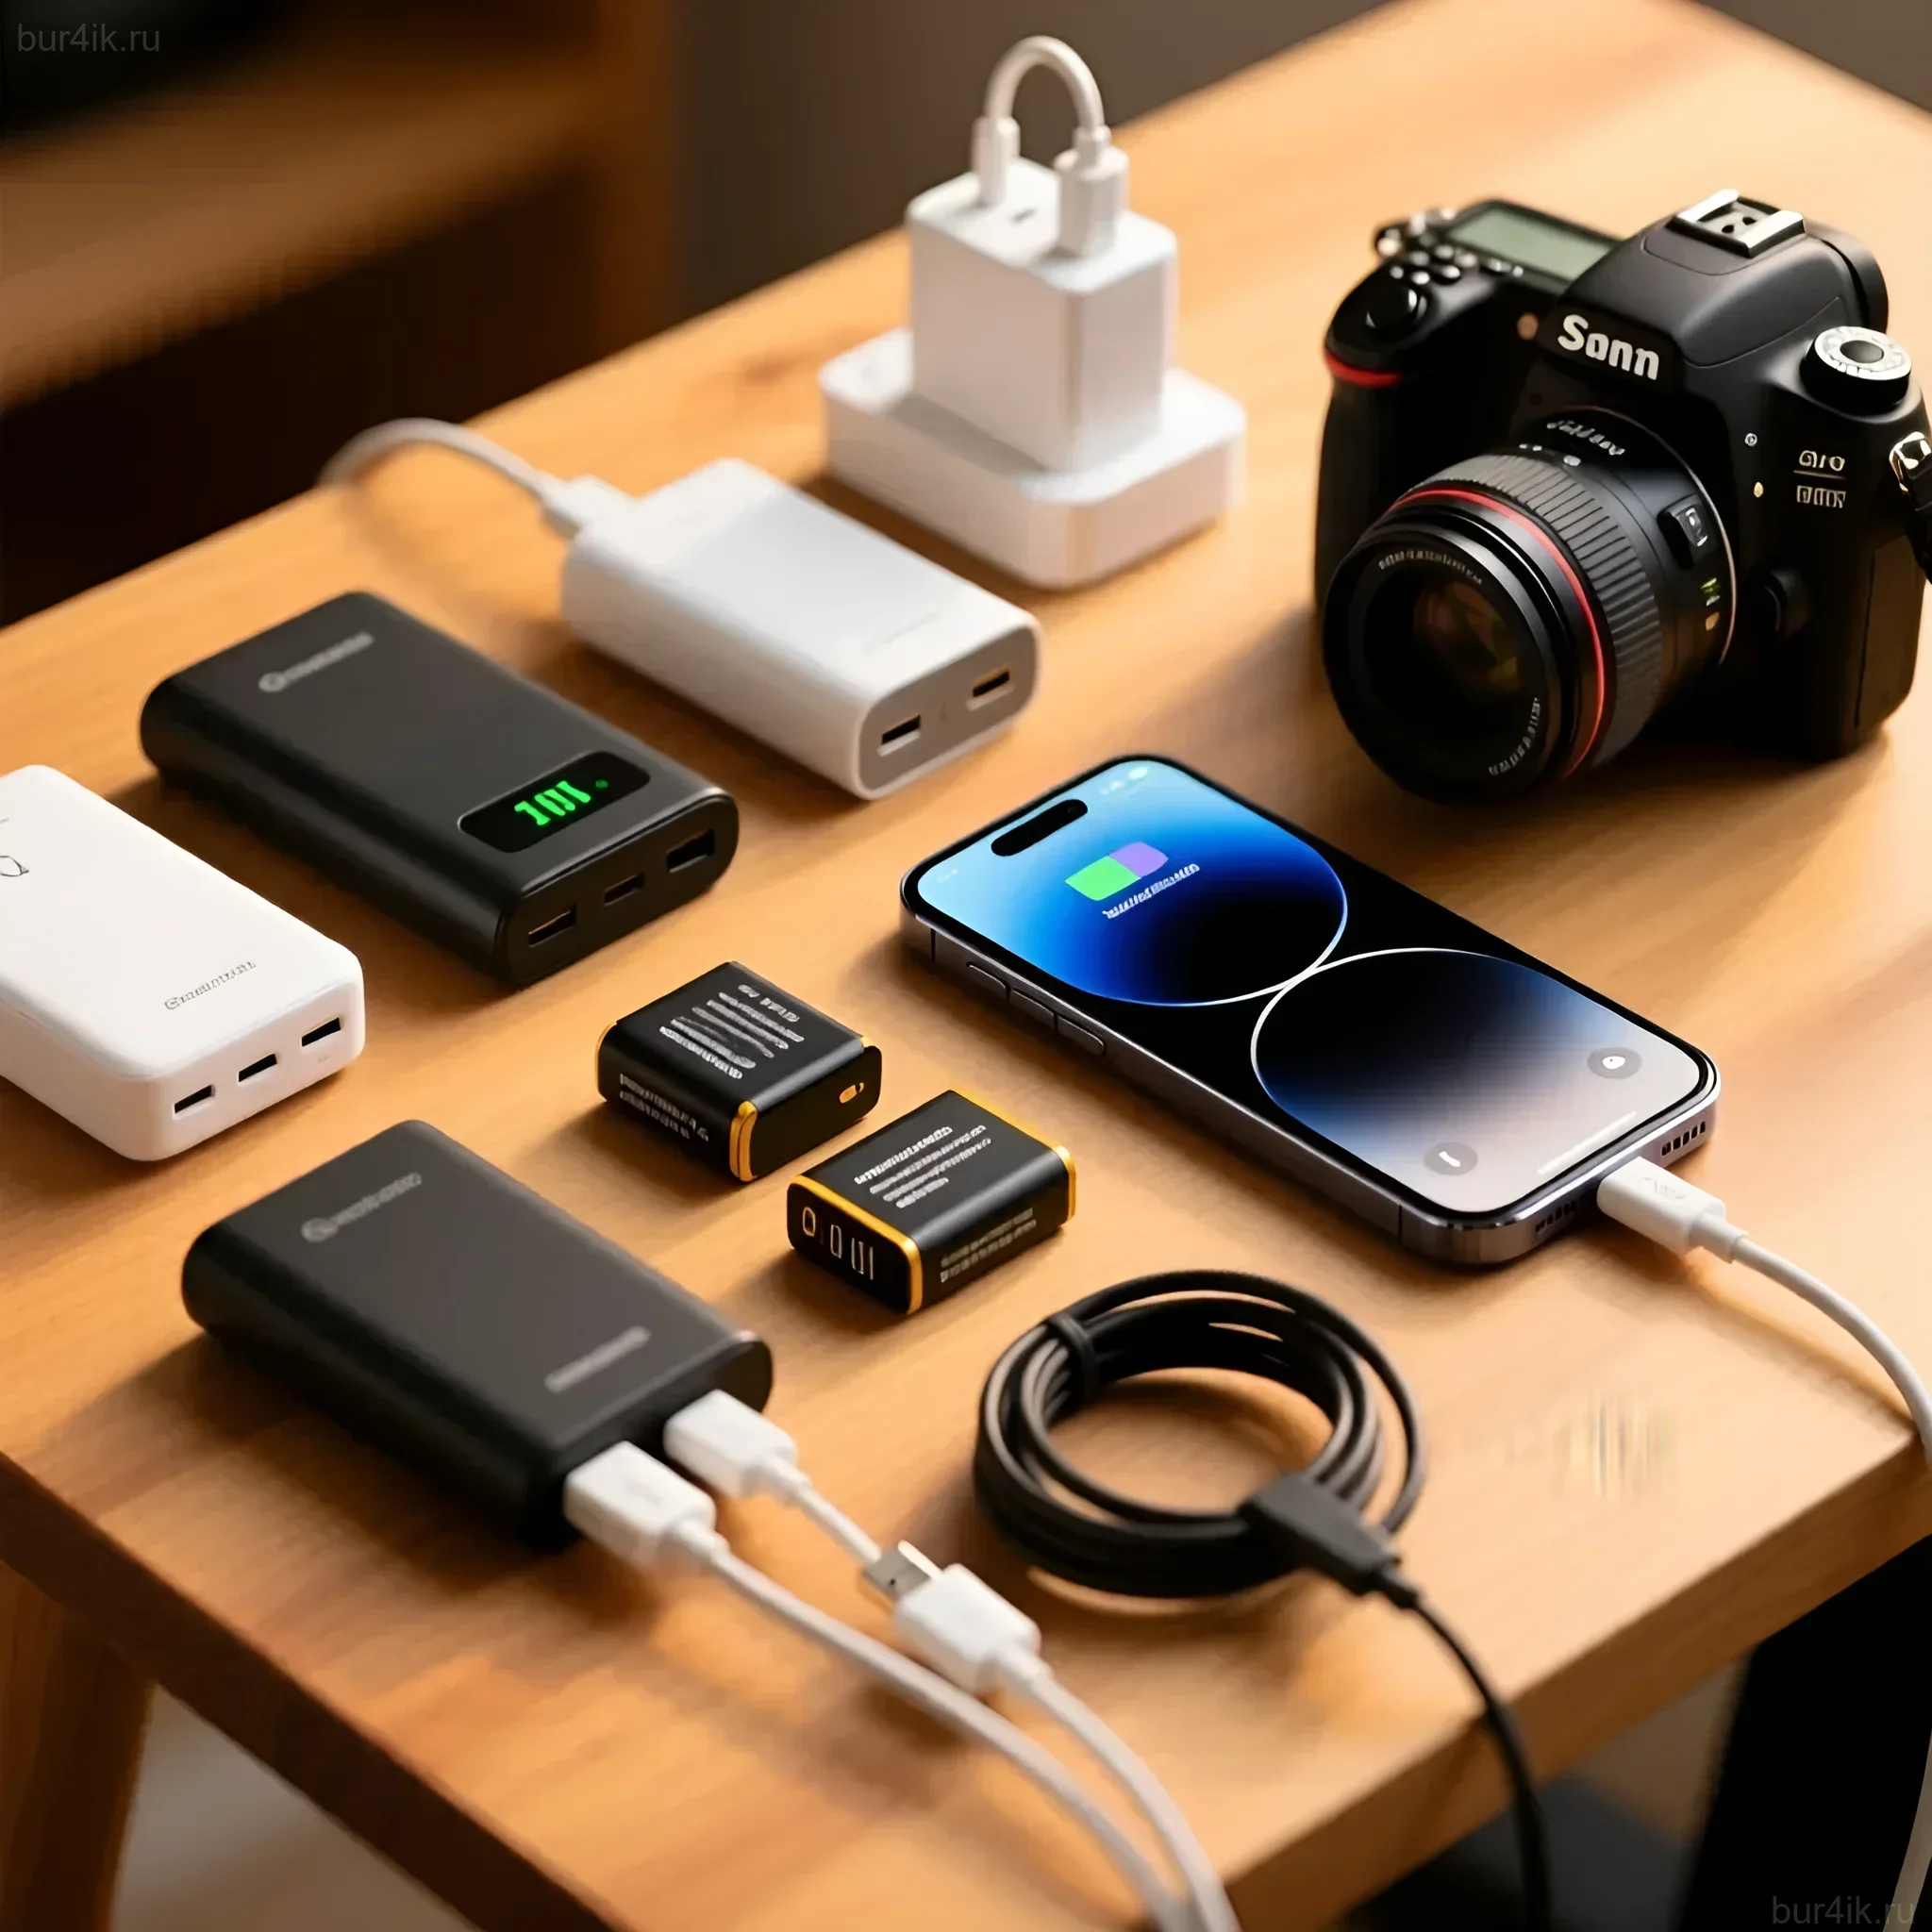
- Spare Batteries: At least one fully charged set for each camera and flash. Store them in plastic cases to prevent short circuits.
- High-Capacity Power Bank: Choose models with fast charging support (PD/QC) capable of charging not only phones but also some mirrorless cameras via USB-C. Capacity of 20,000 mAh and above.
- USB-Output Charger: A compact charger that allows charging two to three batteries simultaneously using a single power source.
- Universal Power Adapter: If you work abroad, a multi-functional adapter with built-in USB ports (Type A and Type C) supporting US, EU, UK, and Australian standards is vital.
- Cables:
- Spare USB-C (or Micro-USB) for charging the Power Bank and data transfer.
- Sync cable for flashes (if using external triggers).
- Short extension cord with 3-5 outlets (often there’s only one free outlet at a location that needs to be shared).
- AA/AAA Batteries: Several sets for flashes, triggers, or dictaphones. It’s preferable to use long-lasting lithium or fresh alkaline batteries.
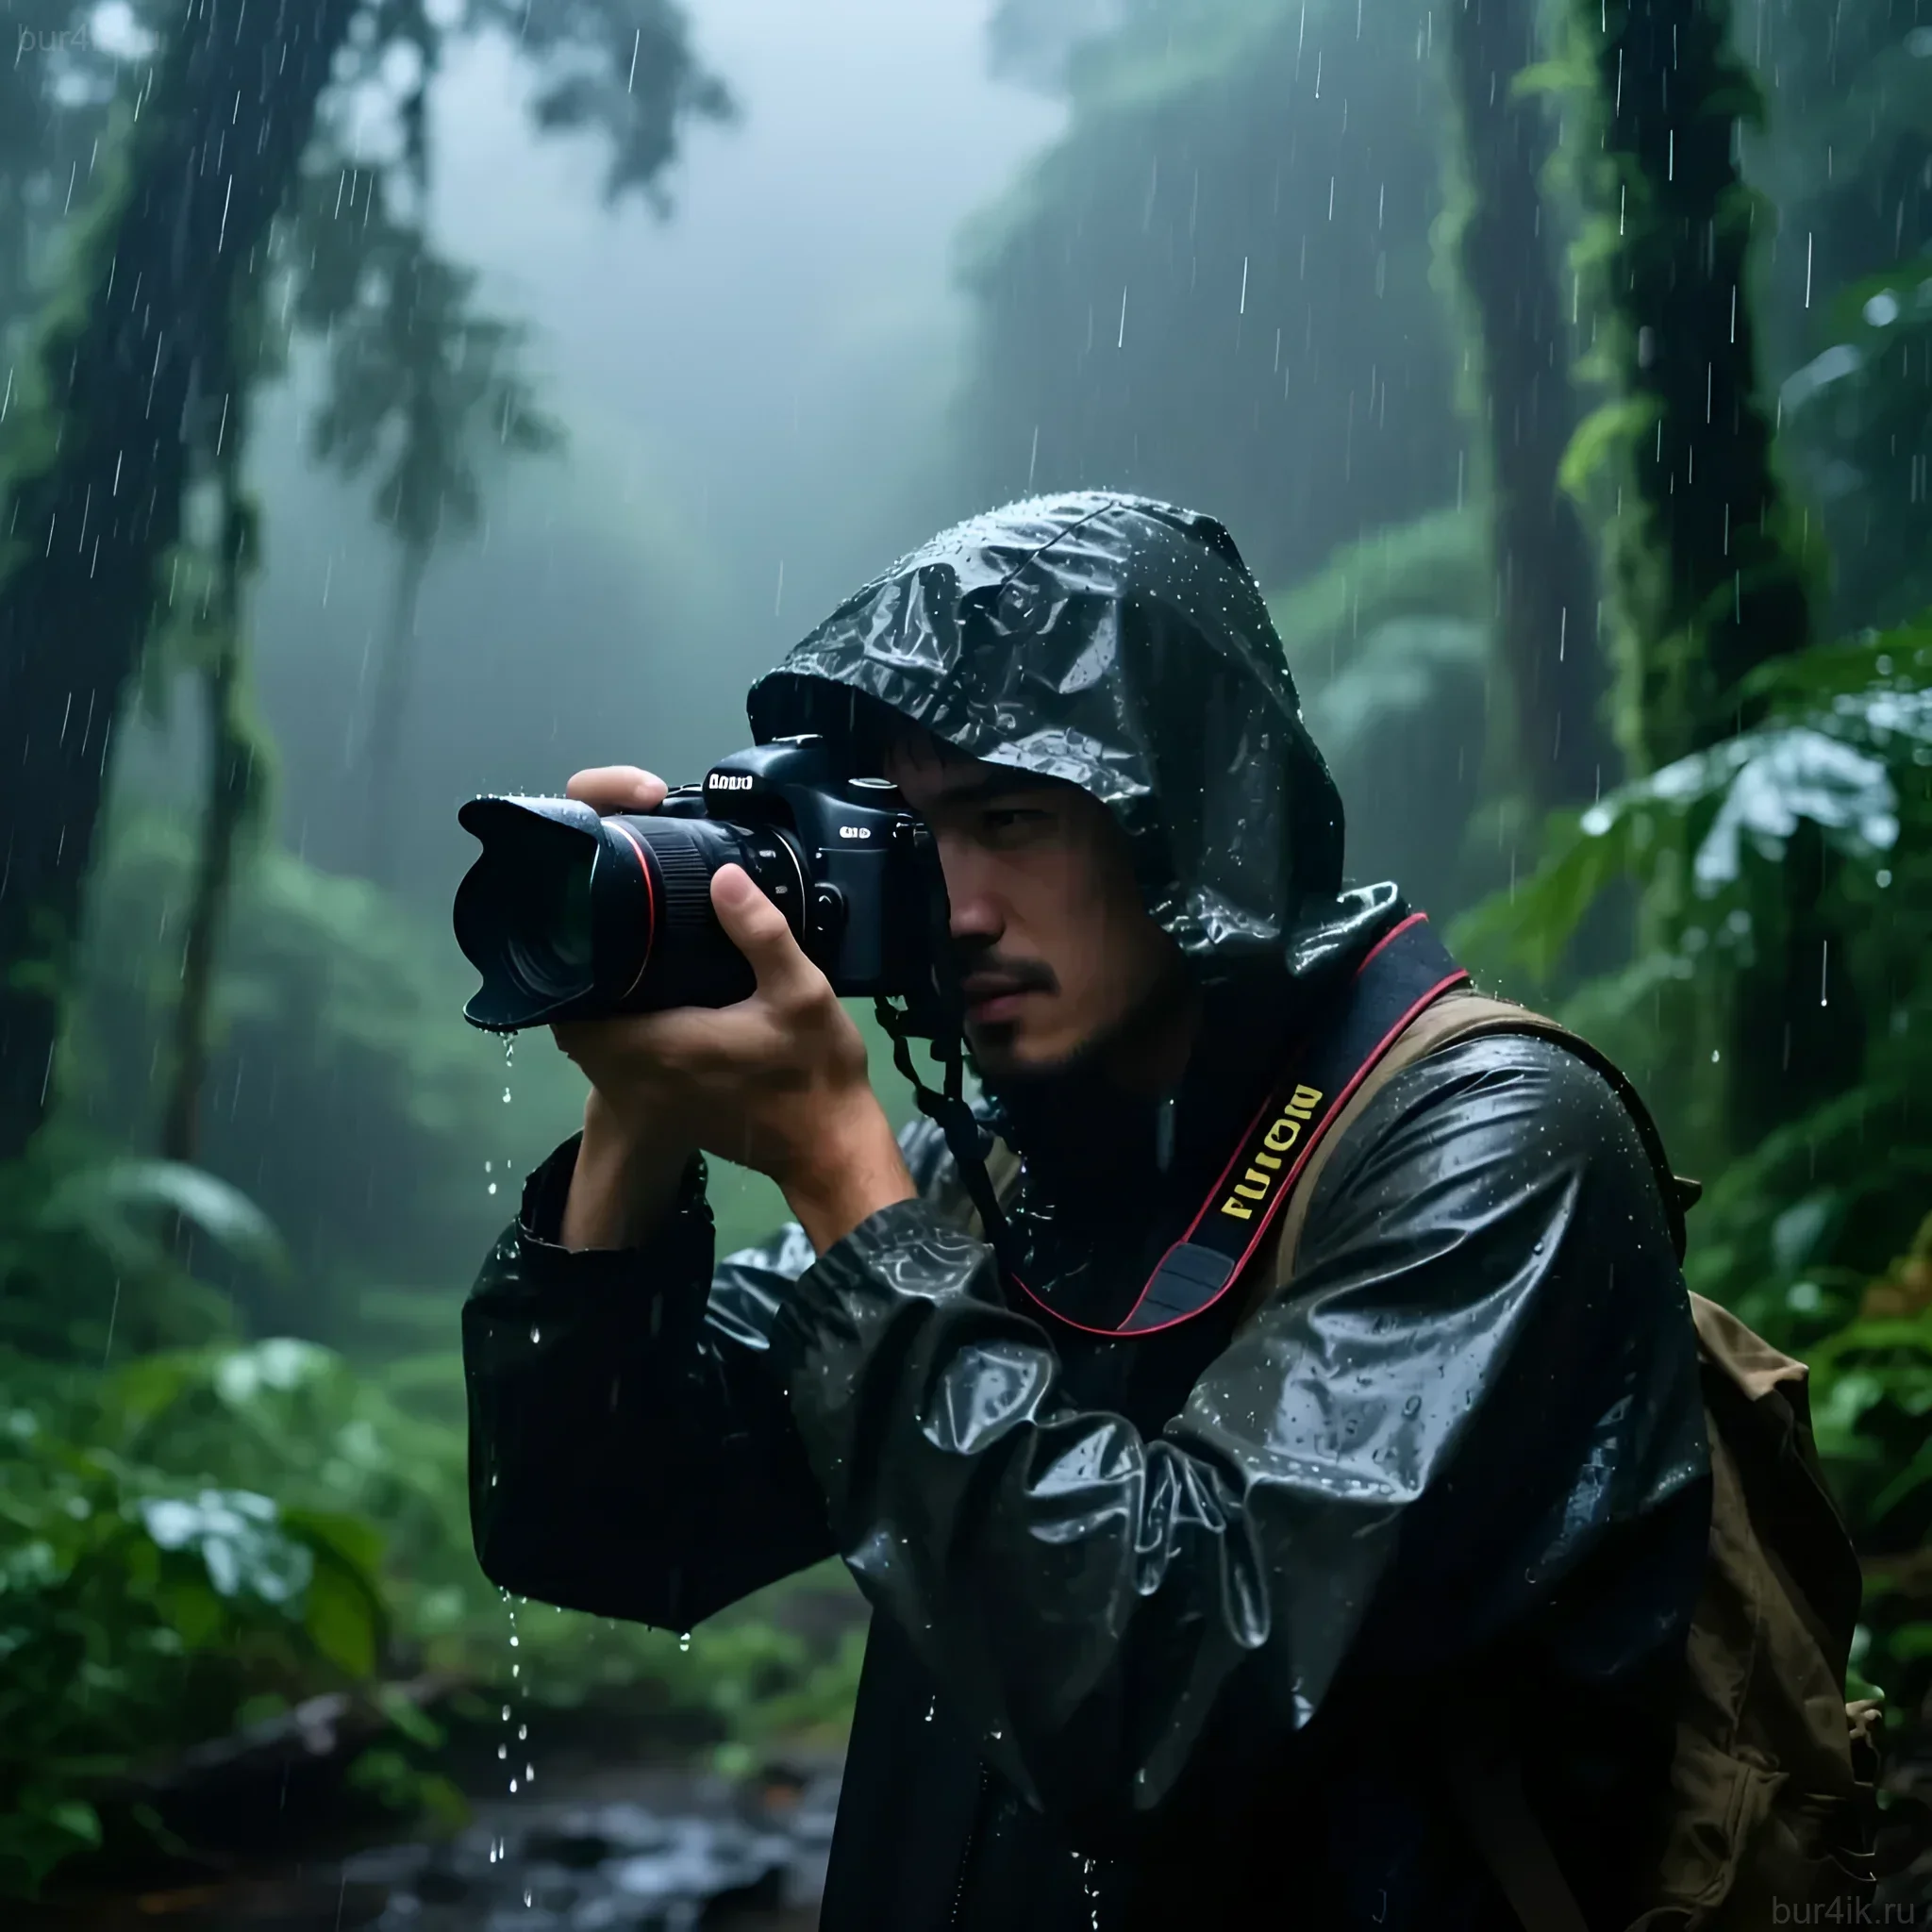
Weather Protection: How to Keep Equipment Safe in Any Conditions
Water, dust, and extreme temperatures are the main enemies of photographic equipment. The preparedness kit should include means that will allow you to continue shooting despite sudden deterioration of weather conditions.
Climate Protection Measures:
- Rain Covers for Camera and Lens: Lightweight, compact covers made of nylon or polyethylene. They can be bought ready-made or you can use thick garbage bags (a budget-friendly but effective option).
- Desiccants (Silica Gel): Several large silica gel packets. If your camera or lens gets wet or fogs up, place it with the silica gel in a sealed bag. It will absorb excess moisture.
- Dry Bag: A small bag with a volume of 5-10 liters that can be used to store the most sensitive electronics (e.g., hard drives or external flashes) during heavy rain or when working near water.
- Protective Filters: Always carry a spare UV filter for your most used lens. It serves as a “sacrificial” shield against scratches and impacts.
- Gloves or Mittens: For working in cold weather to maintain finger dexterity and protect them from frostbite.
Important to Remember: Sudden temperature changes cause condensation. If you bring a cold camera into a warm room, place it in a sealed bag first. Let the temperature equalize before opening it.
Photographer’s First-Aid Kit: Self-Care and Comfort
The “first-aid kit” in the go-bag is divided into two parts: care for the photographer and immediate assistance for equipment that isn’t repair-related but is critical for image quality.
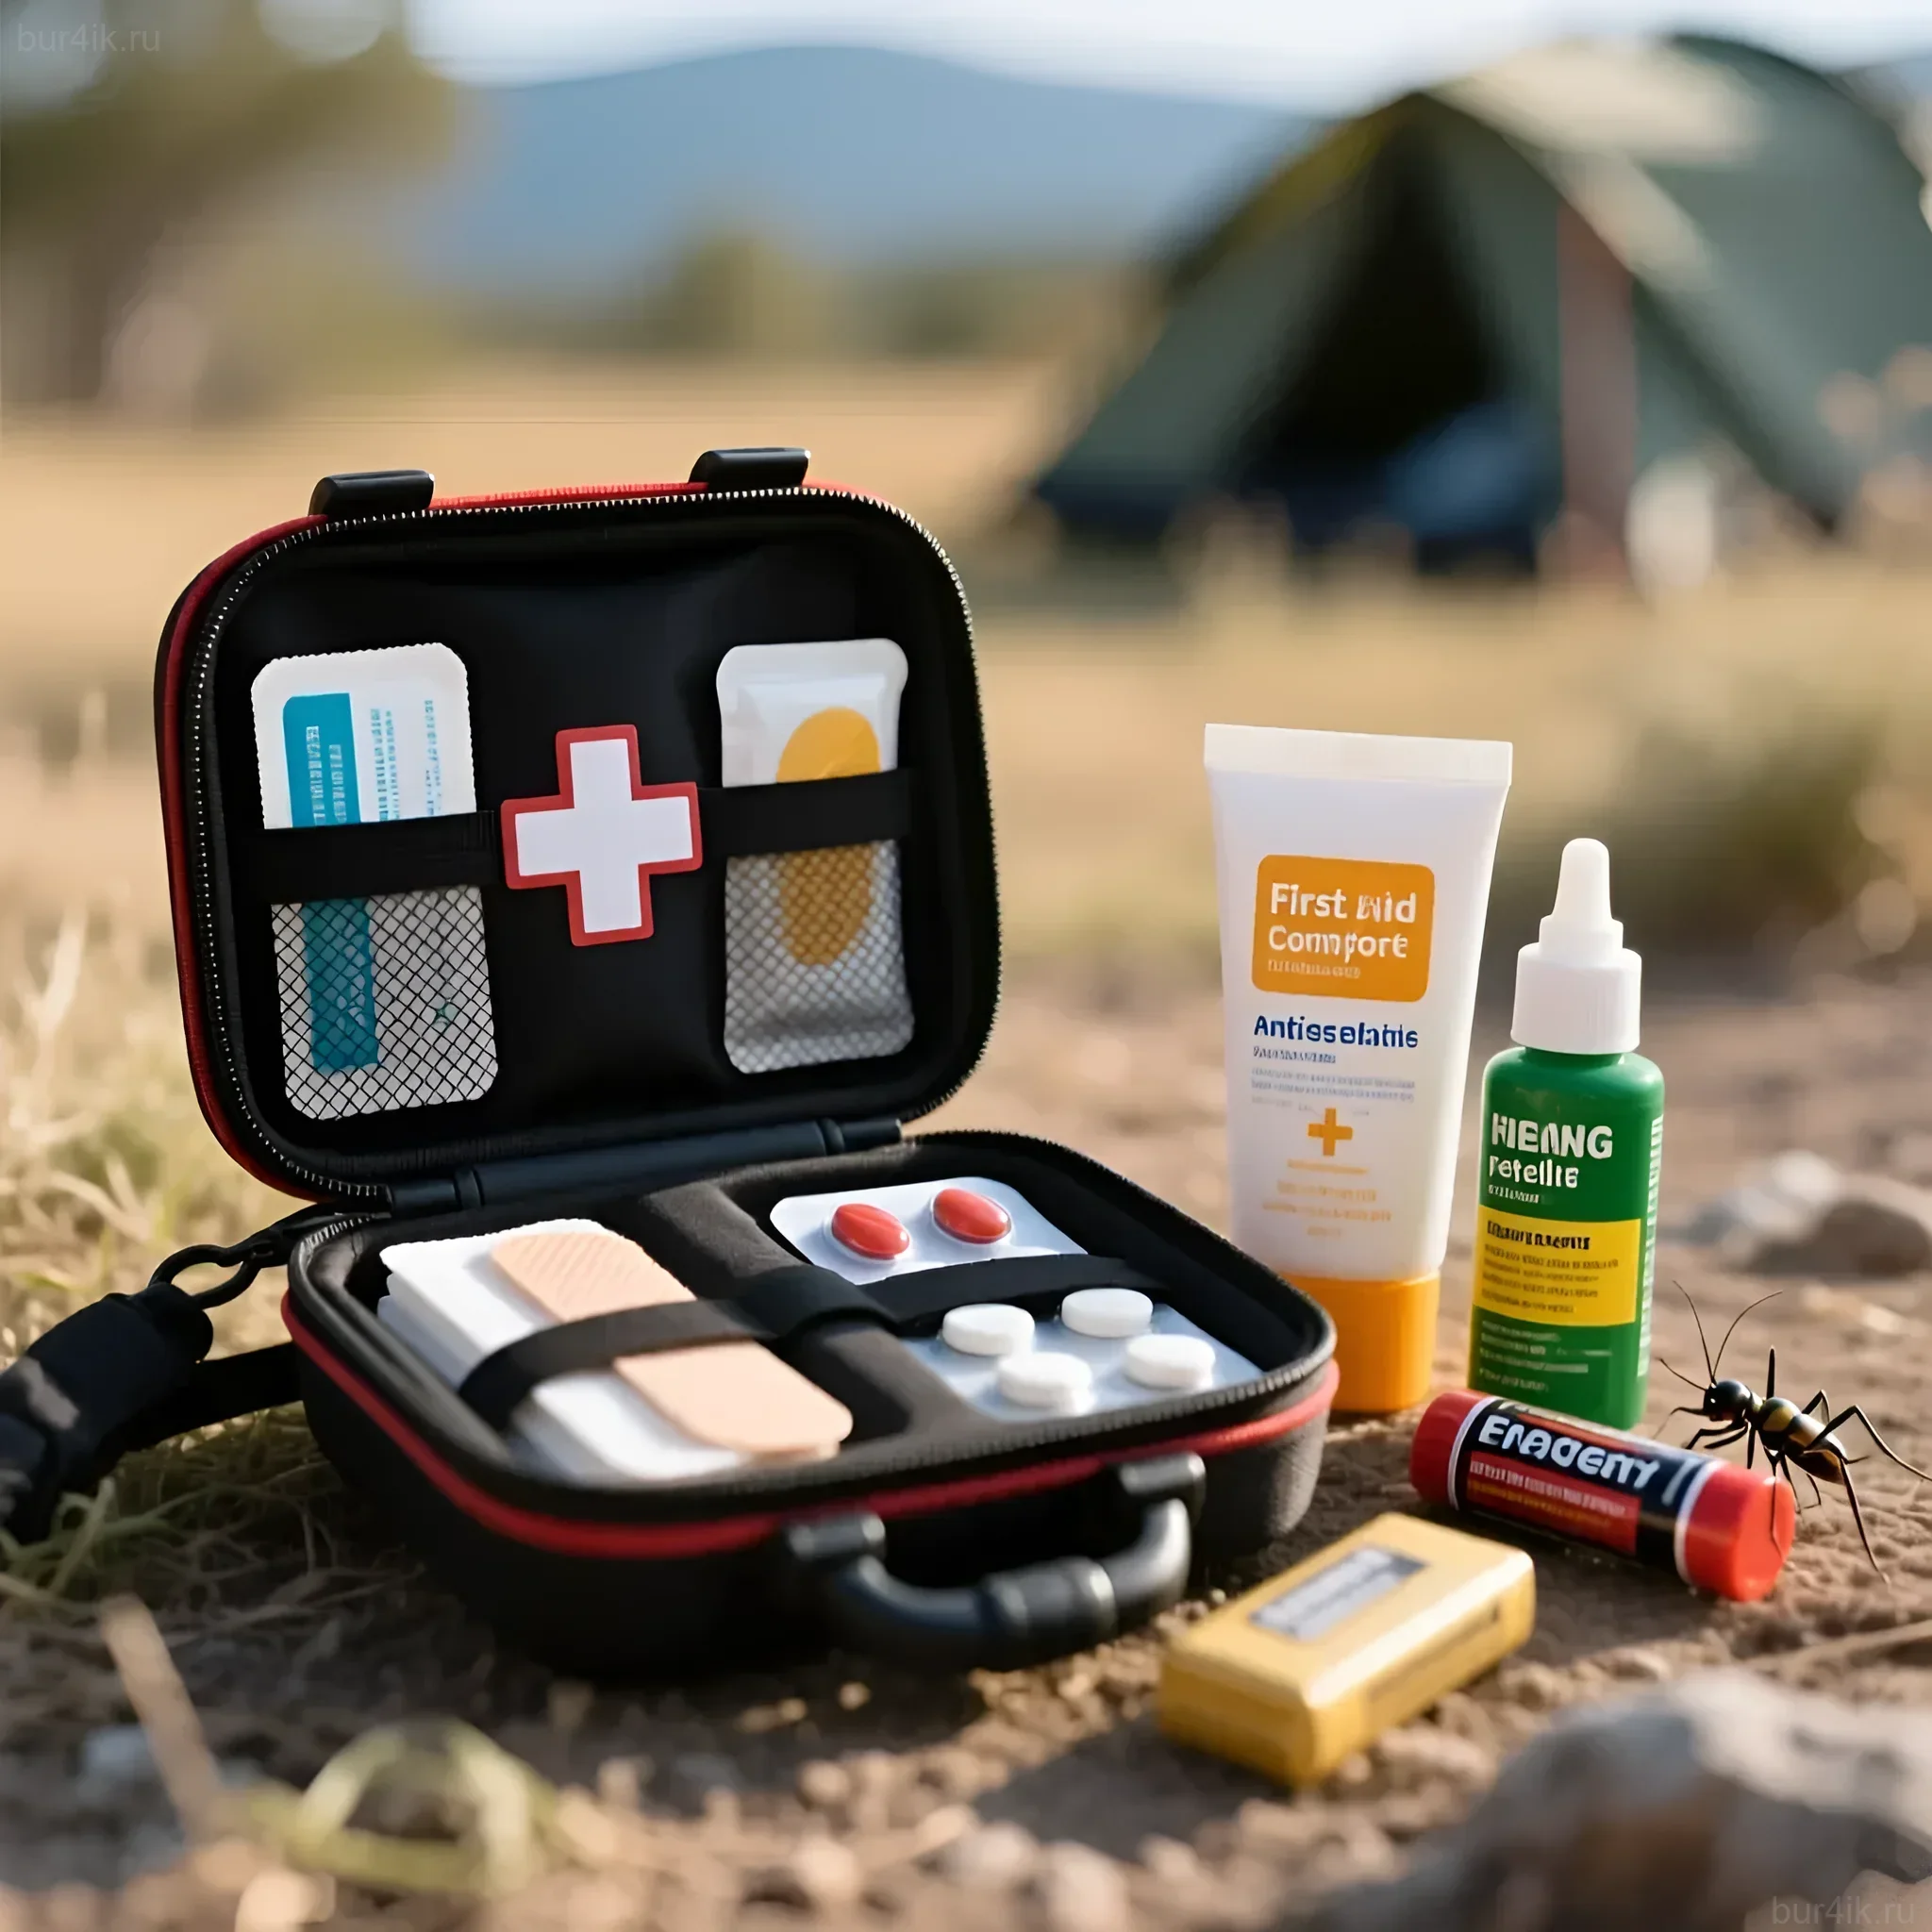
Personal First-Aid Kit (Minimum):
- Pain Relievers and Anti-inflammatories: Medications for headaches or muscle strain.
- Band-aids and Antiseptic: Small cuts and blisters from a heavy backpack are common.
- Allergy Medication: Especially relevant when shooting outdoors or in the field.
- Sun and Insect Protection: A small tube of sunscreen and repellent.
Medical Assistance for Equipment:
- Spare Memory Cards: At least two empty, formatted cards (SD, CFexpress, or XQD). Cards can fail without warning.
- Sensor Cleaning Supplies: A wet sensor cleaning kit (swabs and fluid). Use only in clean, windless conditions, but it’s essential to have it with you for emergencies.
- Electronic Wipes: Alcohol-free, for cleaning camera bodies, screens, and viewfinders.
- Mini-Flashlight (Headlamp): For adjusting settings in low light or searching for dropped items.
Organization and Storage: How to Pack Everything and Not Forget
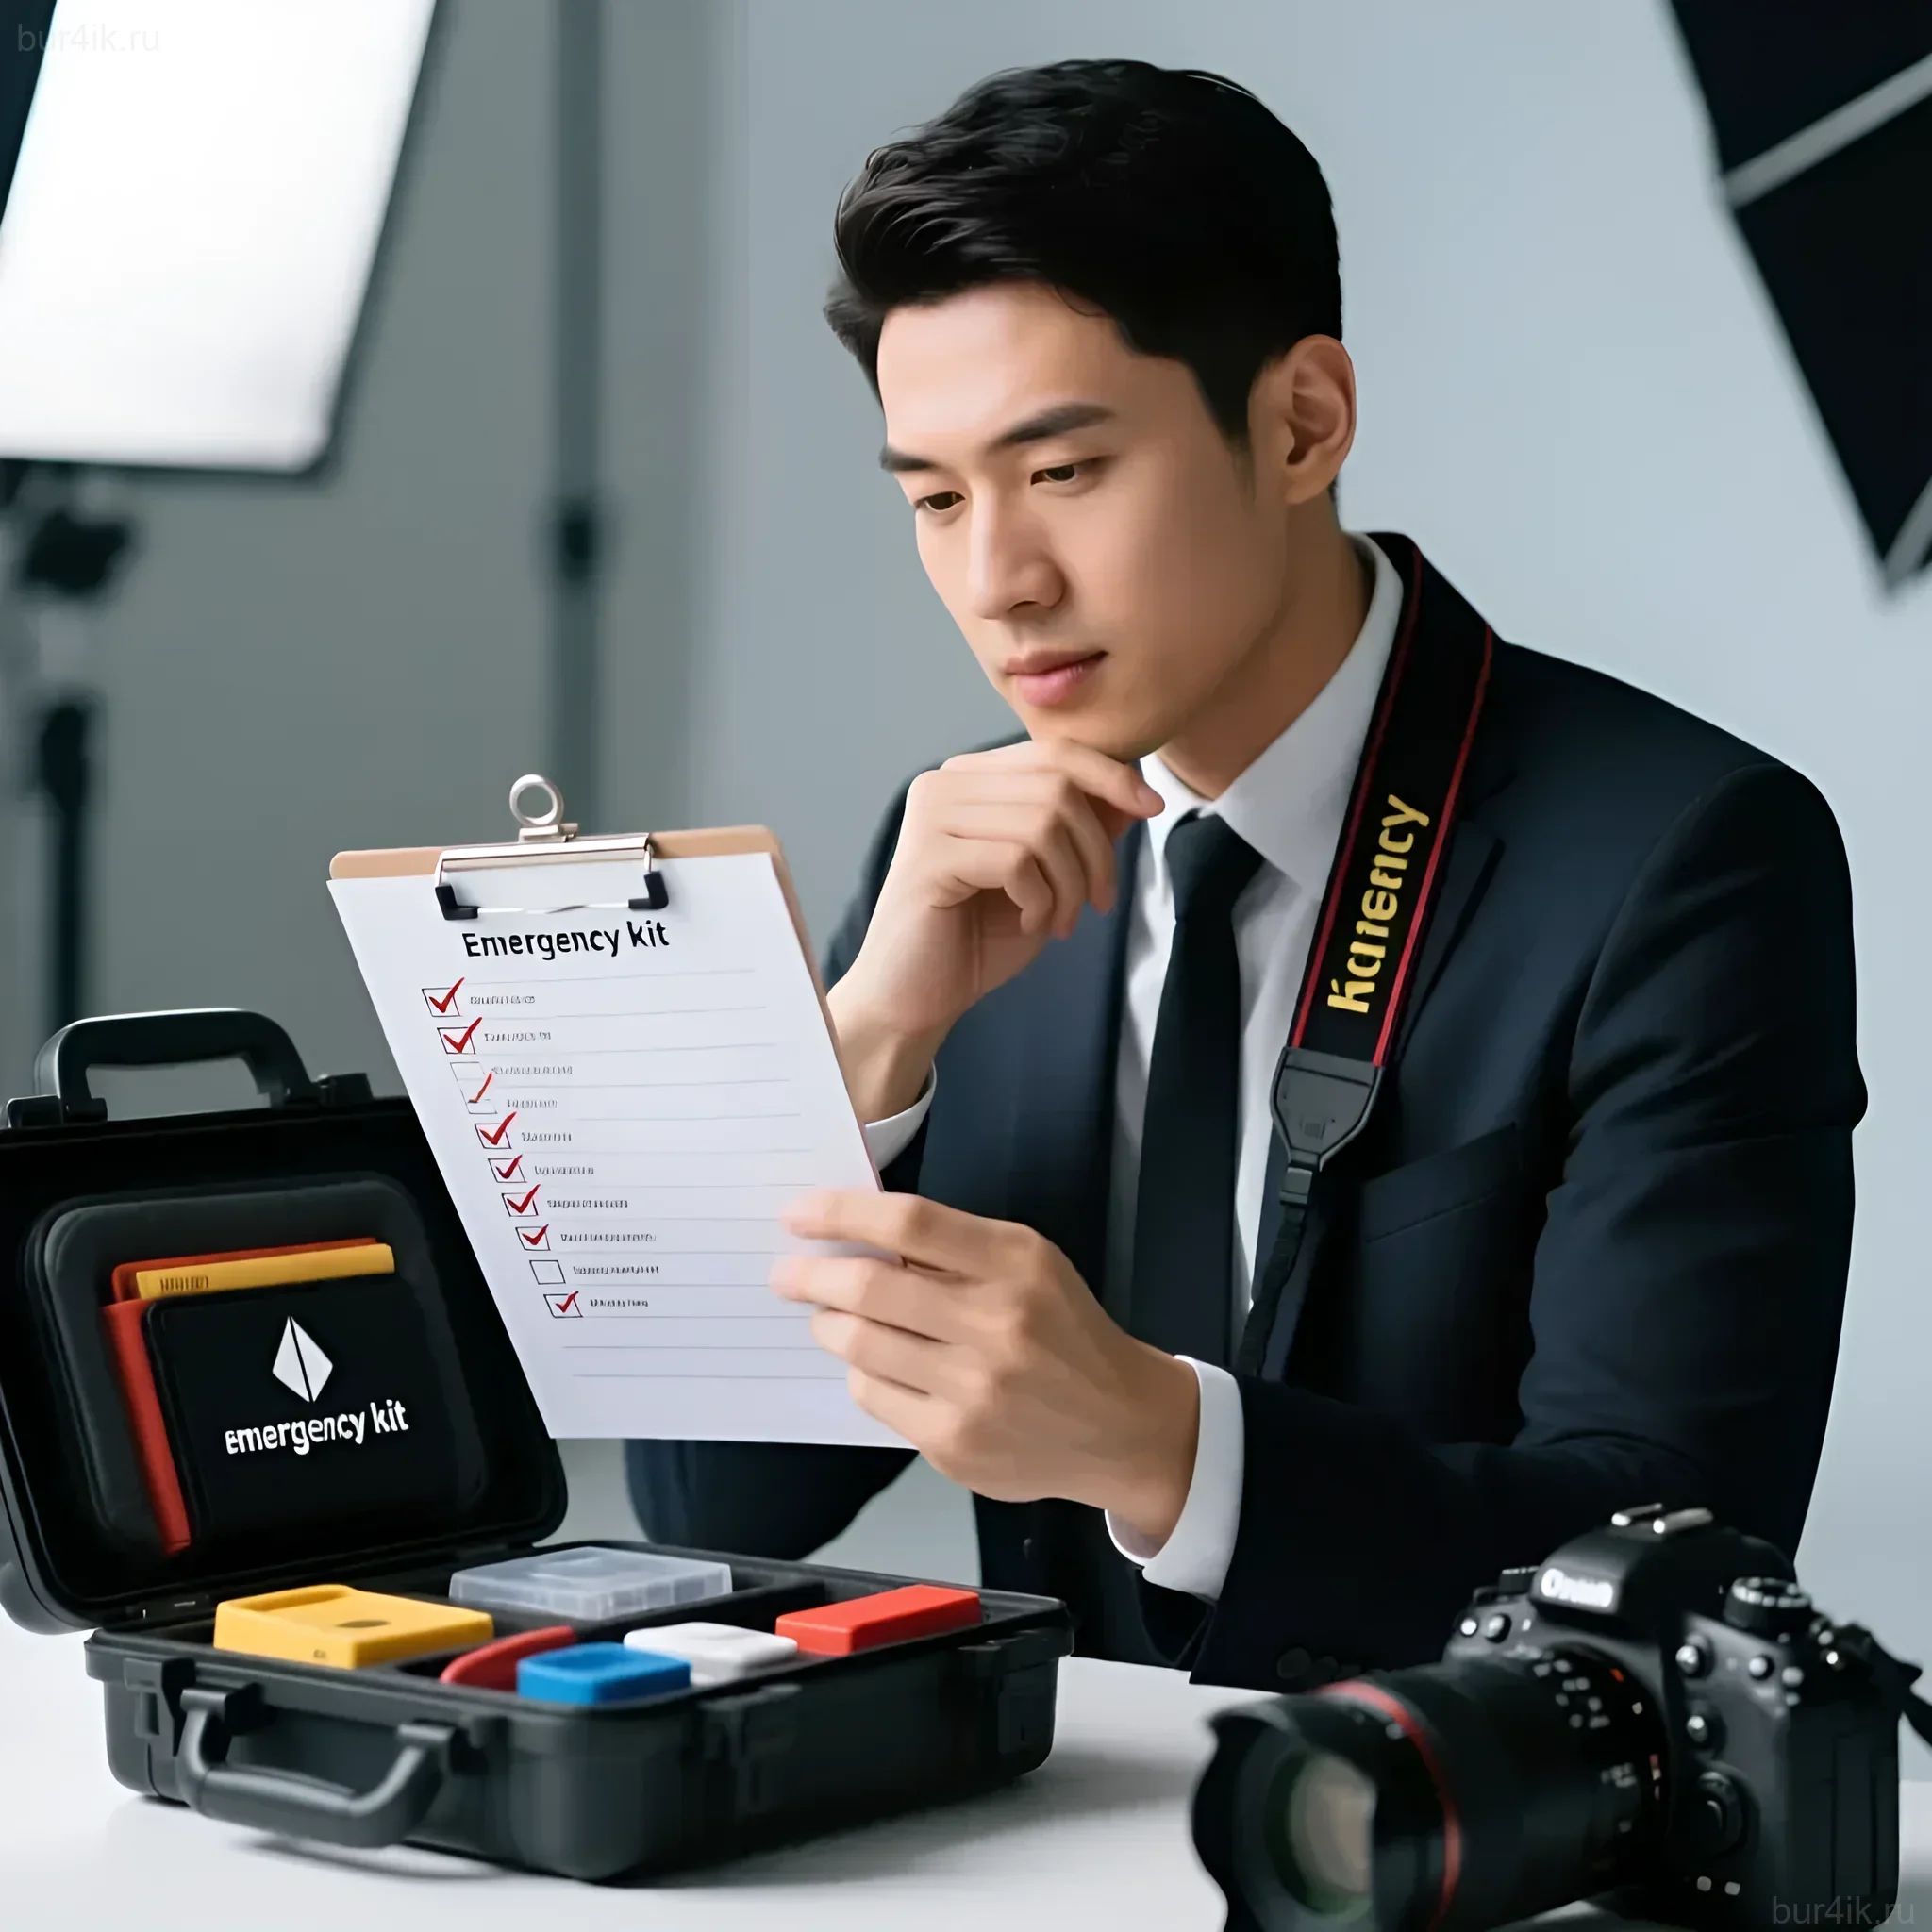
The best kit is useless if you can’t find things quickly or if it takes up too much space. Organization is key to the effectiveness of a “go-bag”.
Principles of Effective Packing:
Experts recommend dedicating a separate, small, and brightly marked case or bag for the emergency kit. Do not mix its contents with your main equipment.
- Modularity: Use small cosmetic bags or different colored pouches for segmentation. For example, blue for power, red for repairs, green for the first-aid kit.
- Quick Access: The kit should be in an easily accessible place in your backpack or car.
- Transparent Walls: If possible, use organizers with transparent mesh walls to see the contents without opening each pouch.
Checklist:
After assembling the kit, be sure to create a printed or digital checklist that you regularly refer to. This ensures that after using any item (e.g., a cable), it is returned to its place.
Monthly Check-list:
- Are all tools present?
- Is the Power Bank charged?
- Is the silica gel fresh?
- Are the medications within their expiration dates?
- Are all memory cards formatted and ready for use?
FAQ: Answers to Frequently Asked Questions About the “Go-Bag”
Assembling an emergency kit raises many questions, especially for beginner photographers. Here are answers to the most common ones.
1. Should the “go-bag” always be the same?
Answer: No. The ideal kit should be adaptive. A kit for studio shooting (where extension cords and electrical tape are important) will differ from a kit for a winter mountain expedition (where cold protection and powerful batteries are critical). However, the basic set of tools and power remains unchanged.
2. How often should the contents be checked?
Answer: At least once every three months, and also after every major trip. The most important thing is to check the charge of the Power Bank and batteries, as well as the expiration dates of personal medications and chemical supplies (e.g., cleaning fluid).
3. How expensive should such a kit be?
Answer: The cost is relatively low, as most items are consumables and tools. Investing in a quality multi-tool and a reliable Power Bank will pay for itself many times over by preventing the disruption of an expensive shoot. Do not skimp on the quality of cables and adapters.
4. Is it worth including a spare camera body in the kit?
Answer: If you are a professional working with two cameras, a spare camera is always part of your main kit. A spare body is usually not included in the “go-bag” itself, as this would compromise its compactness. The go-bag is intended for repairs, not for complete replacement of primary equipment.
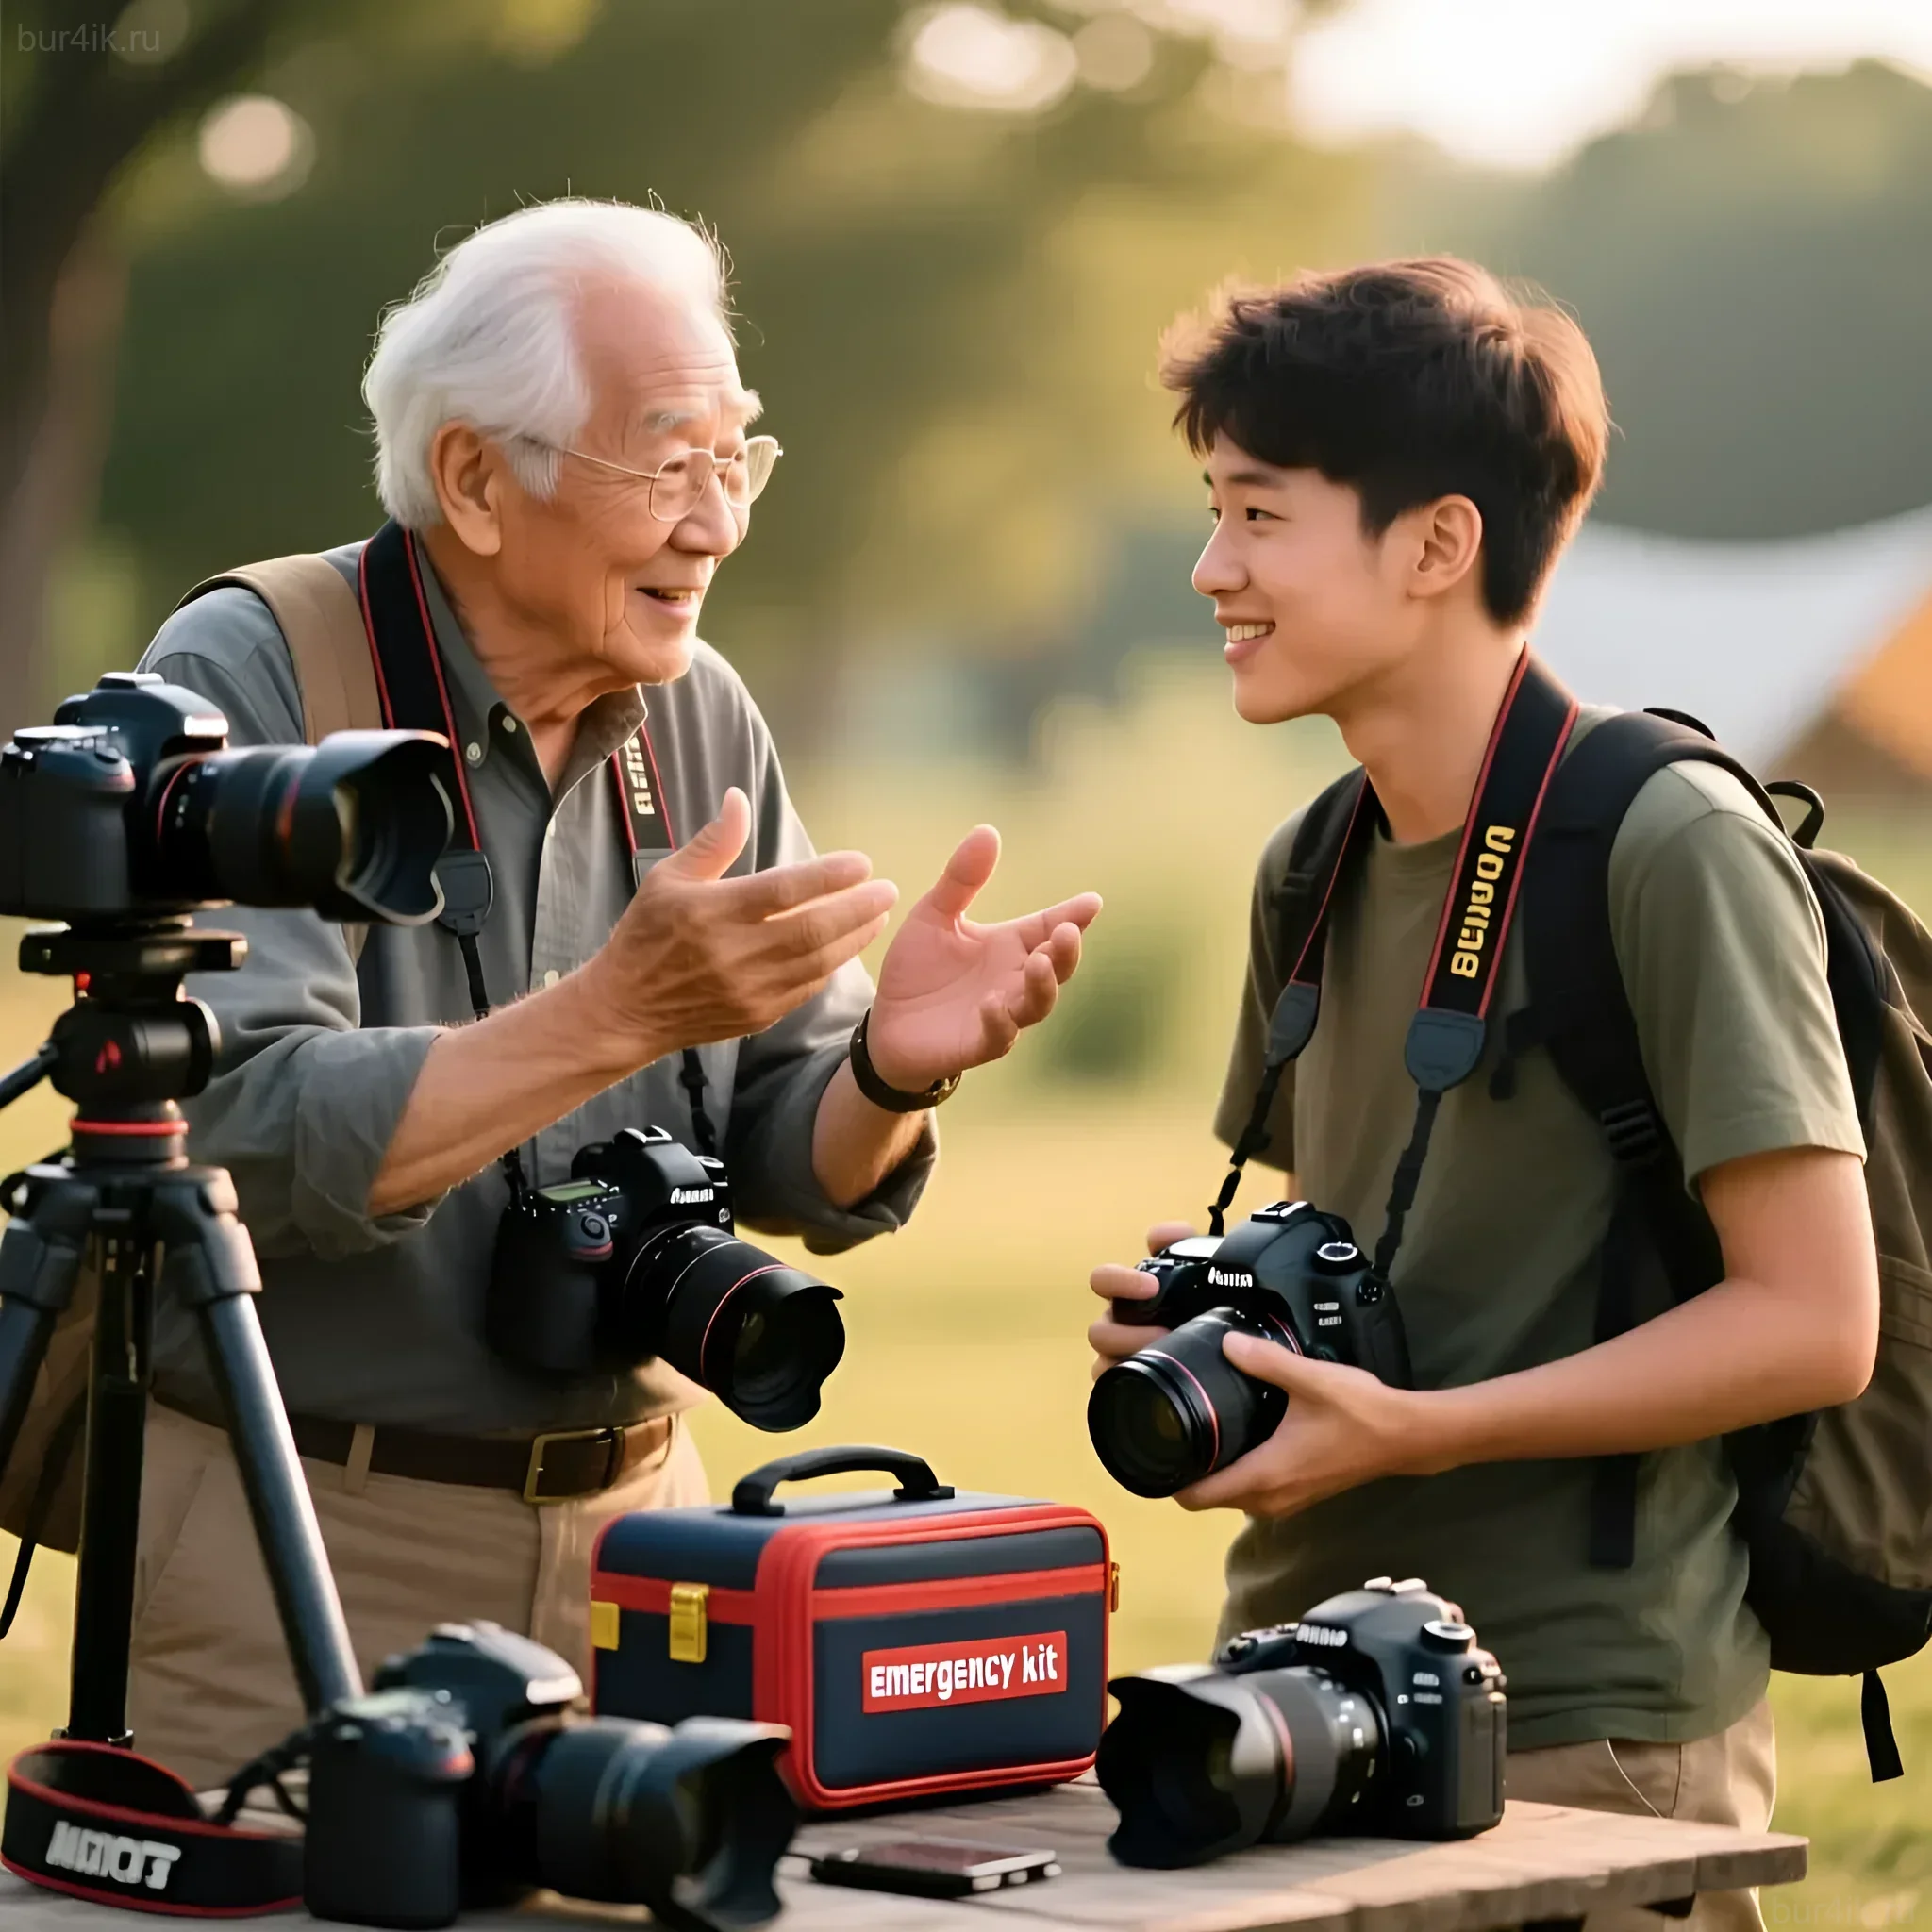
Interesting Facts and Lifehacks from Experienced Photographers
Years of experience in field conditions have led to several unconventional but highly effective solutions that can save a shoot.
- Rubber Band Hack: A regular office rubber band can temporarily replace a remote shutter release or secure a flash to a lens for macro photography. Always keep a few in your go-bag.
- Using Foil: A small piece of aluminum foil, folded several times, can be used to temporarily restore contact in a battery compartment or to direct light from a small flashlight.
- Charge Marking: Use colored stickers or markers to indicate battery charge levels. For example, green for charged, red for discharged. This prevents accidentally using a dead battery.
- Spare Clip: A regular paperclip (binder clip) can serve as a temporary holder for a backdrop, a cable organizer, or even a replacement for a broken tripod leg in an emergency.
- The Dry Rice Secret: If you encounter wet equipment and have no silica gel on hand, professionals recommend using uncooked rice. It absorbs moisture quickly. Place the camera (with compartments open) in a sealed bag with rice for 24-48 hours. (This is a last resort; silica gel is preferable).
Creating the perfect “go-bag” is an ongoing process that is refined with each new shoot. It reflects the professionalism and readiness of the photographer to face any challenge, providing the peace of mind and confidence needed to create masterpieces.