The work of a photographer, contrary to popular belief, is not only a creative but also a very physically demanding process. Prolonged standing, carrying heavy equipment, adopting uncomfortable poses, and the need to react quickly to changing conditions require serious physical preparation. The bur4ik.ru blog presents an expert guide to physical training that will help photographers avoid injuries, increase endurance, and consequently improve the quality of their shots.
Why Photographers Need Physical Training: Avoiding Burnout and Injuries
Physical fitness directly affects creative potential. When the body is tired, the brain slows down, attention scatters, and the ability for creative solutions decreases. A photographer who feels broken after a 12-hour wedding shoot or a multi-hour landscape trek cannot perform at their peak.
Key Physical Challenges for Photographers:
- Prolonged Static Load: Standing for many hours in one pose or holding the camera at eye level.
- Non-ergonomic Poses: Shooting from a low angle, squatting, lying on the ground.
- Carrying Weight: Regularly carrying heavy backpacks with equipment (10 to 25 kg).
- Working in Extreme Conditions: Heat, cold, humidity, uneven surfaces.
Typical Health Problems:
- Lower back and neck pain due to poor posture and strain.
- Tendonitis and carpal tunnel syndrome from repetitive movements and holding equipment.
- Knee and ankle problems from long walks and static tension.
- General chronic physical burnout, often masked as a creative block.
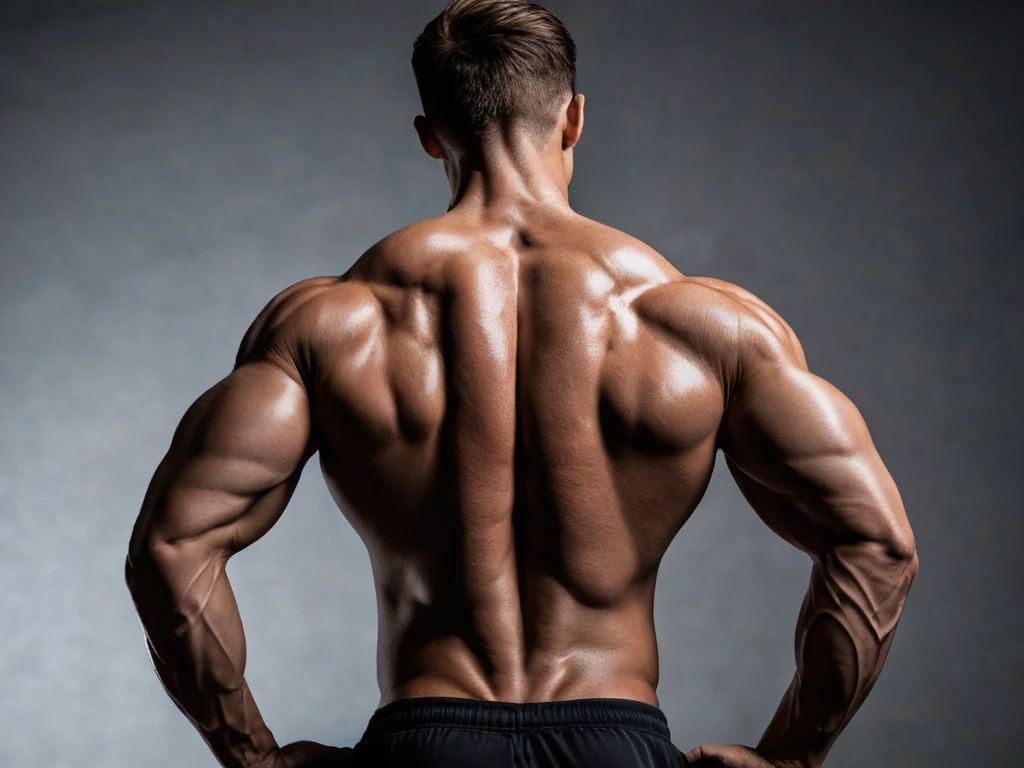
Strengthening Your Back and Core: The Foundation of Stability and Good Posture
Core muscles (deep abdominal, lower back, and pelvic muscles) are the foundation of your body. A strong core provides the stability needed for sharp shots and protects the spine from the overload associated with carrying heavy loads.
Key Exercises for Strengthening Your Back:
- Hyperextensions: Strengthens the back extensors. Perform with an emphasis on slow, controlled movement.
- Bent-over Rows (Barbell/Dumbbell): Develops the latissimus dorsi and rhomboid muscles, which stabilize the shoulder girdle.
- Plank (Standard and Side): Ideal for static core endurance. Start with 30 seconds, gradually increasing the duration.
Core Exercises:
- Crunches and Reverse Crunches: For the rectus abdominis and lower abdominal muscles.
- Russian Twists: Develops the oblique muscles, aiding in body rotation during shooting.
- Exercises with a Stability Ball: For example, the “Dead Bug” for deep stabilization without stressing the lower back.
The Importance of Good Posture:
When shooting, photographers often hunch over while looking through the viewfinder. This creates a C-shaped curve in the spine. Regular exercises and self-awareness will help keep your shoulders back and your core straight, reducing strain on your neck.
Tips for Carrying Equipment:
- Use ergonomic backpacks with good waist and chest straps, transferring most of the weight to your hips, not your shoulders.
- Regularly switch shoulder straps or use quick-release straps to distribute the load asymmetrically.
- Do not carry heavy equipment on one shoulder for more than 15 minutes at a time.
Stretching for the Back:
After a day of shooting, be sure to perform gentle supine twists and the Child’s Pose from yoga to relieve tension in your lower back.
Developing Endurance: To Shoot Longer and More Effectively
Photography is often a marathon, not a sprint. Landscape photographers may walk dozens of kilometers, and photojournalists have to stand all day without a chance to sit down.
Cardio Workouts are Key to Overall Endurance:
- Walking/Trekking: The most relevant for photographers. Regular long walks improve joint and lung adaptation.
- Swimming: Ideal for maintaining overall physical fitness without impact on joints, and it also greatly develops the respiratory system.
- Cycling: Good for developing leg strength and the overall cardiovascular system.
Interval Training (HIIT):
HIIT (e.g., 30 seconds of fast running/walking, 60 seconds of rest) effectively mimics the sudden bursts of activity needed during a shoot (e.g., running to catch the light).
Adapting to Specifics: Backpack Training
For landscape and travel photographers, it’s beneficial to include walking with a light or medium weight in a backpack in your training plan. Start with 5 kg and gradually increase the load, simulating the weight of your work bag.
Maintaining Energy During Shoots:
- Drink plenty of water 24 hours before a shoot, not just during.
- Include complex carbohydrates and proteins in your snacks (nuts, fruits, protein bars), avoiding sharp sugar spikes.
- Use conscious rest techniques: even 5 minutes of sitting with your backpack off can reduce leg and back fatigue.
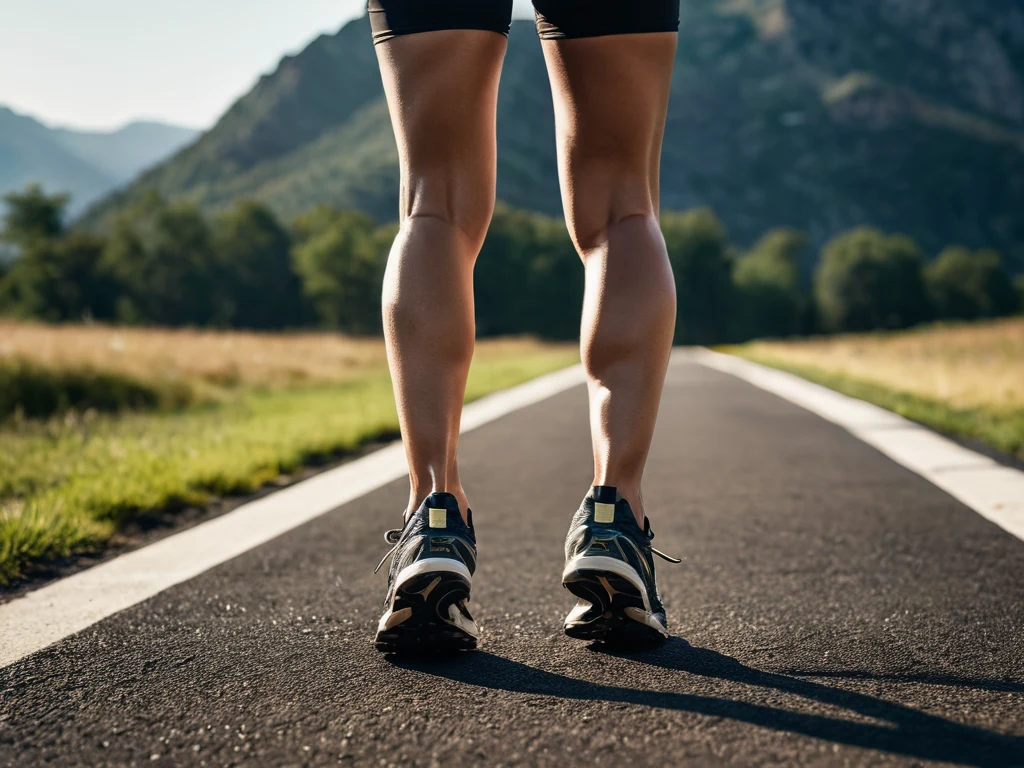
Strengthening Legs and Glutes: For a Confident Stance and Mobility
Your legs are your “tripod.” Tired legs lead to shaky hands and the inability to hold the camera steady for long periods. Strong glutes and thighs stabilize the pelvis, which is critical for shooting from unstable positions.
Lower Body Exercises:
- Squats: A fundamental exercise. If you work with heavy equipment, squats will help you safely lift and lower it.
- Lunges: Develop unilateral strength and balance, which is indispensable when walking on uneven surfaces.
- Deadlifts: Excellently strengthen the posterior chain (legs, glutes, lower back). Be sure to learn the technique under the guidance of a specialist.
Strengthening Gluteal Muscles:
- Glute Bridges: Excellently isolate and activate the glutes, which is important for compensating for long hours spent sitting at a computer during editing.
- Leg Swings (forward/backward/sideways) while standing or on all fours.
Balance and Coordination:
Practice single-leg exercises (e.g., single-leg squats or holding the “Stork” pose). This will improve your ability to maintain balance when, for example, shooting from the edge of a cliff or a shaky ladder.
Footwear is Your Main Ally:
Invest in quality, broken-in footwear with good arch support and cushioning. Avoid flat soles during long hours of shooting on hard concrete or rocks.
Caring for Hands and Wrists: Preventing Carpal Tunnel Syndrome and Fatigue
Fine motor skills and the constant weight of a camera or long lens create immense strain on the hands. Carpal tunnel syndrome prevention is essential for career longevity.
Exercises for Hands and Forearms:
- Wrist Curls and Extensions: Use light dumbbells (1-2 kg) or resistance bands to work the forearm flexors and extensors.
- Wrist Rotations: Slow circular movements in both directions to improve joint mobility.
- Exercises with Grip Rings: Squeezing and holding to strengthen the small hand muscles that stabilize the camera.
Stretching for Wrists and Fingers:
Regularly stretch at the end of your workday:
- Extend your arm with your palm up and gently pull your fingers down towards you with your other hand.
- Extend your arm with your palm down and pull your wrist towards you, stretching the upper part of your forearm.
- Gently bend and straighten each finger to mobilize them.
Ergonomics and Breaks:
- Use straps or grips that reduce the need to constantly tense muscles to hold the camera’s weight.
- If you work with heavy equipment, use a monopod or tripod even for quick shots to give your arms a rest.
- Implement the 15/5 rule: every 15 minutes of camera work, take a 5-minute break to actively stretch your wrists and shoulders.
Equipment Choice:
Modern mirrorless cameras are often lighter than DSLRs. When choosing lenses, opt for lighter primes over heavy zooms when possible to reduce overall load.
Creating an Individual Training Plan: Considering Your Shooting Specifics
There is no universal program. Your plan should reflect your work schedule and the physical demands of your niche.
Assessing Your Fitness Level:
Start with a simple test: how many minutes can you stand with the camera held at chest level without shoulder discomfort? If it’s less than five minutes, start with basic strength training and cardio 2-3 times a week.
Sample Plans for Different Photographers:
- Wedding/Event Photographer: Focus on endurance (long cardio, lots of planks) and core strength. Train 3 times a week, focusing on overall stamina and hip flexibility (due to frequent squatting).
- Landscape/Travel Photographer: Focus on leg strength and overall endurance (hiking, mountain climbing). Add training with a weighted backpack.
- Studio Photographer: Focus on upper body strength (for working with studio lights and heavy stands) and carpal tunnel syndrome prevention. More isolated exercises for arms and shoulders.
Importance of Warm-up and Cool-down:
Warm-up (10 minutes): Light cardio (jogging in place), dynamic stretching (arm swings, torso rotations). Never start working with heavy equipment without a warm-up.
Cool-down (10-15 minutes): Static stretching of the most worked muscle groups (quadriceps, lower back, shoulders).
Nutrition and Recovery:
Exercise is only half the equation. A balanced diet is necessary for muscle tissue recovery and energy maintenance:
- Ensure adequate protein intake (for muscle repair).
- Use complex carbohydrates (oatmeal, whole grains) for sustained energy.
- Don’t forget about hydration, especially on shooting days.
Consultations:
If you already have chronic pain or injuries, it is highly recommended to consult with a doctor, physical therapist, or certified fitness trainer who can help adapt these recommendations to your unique condition. Health is your most important long-term investment in your photography career.